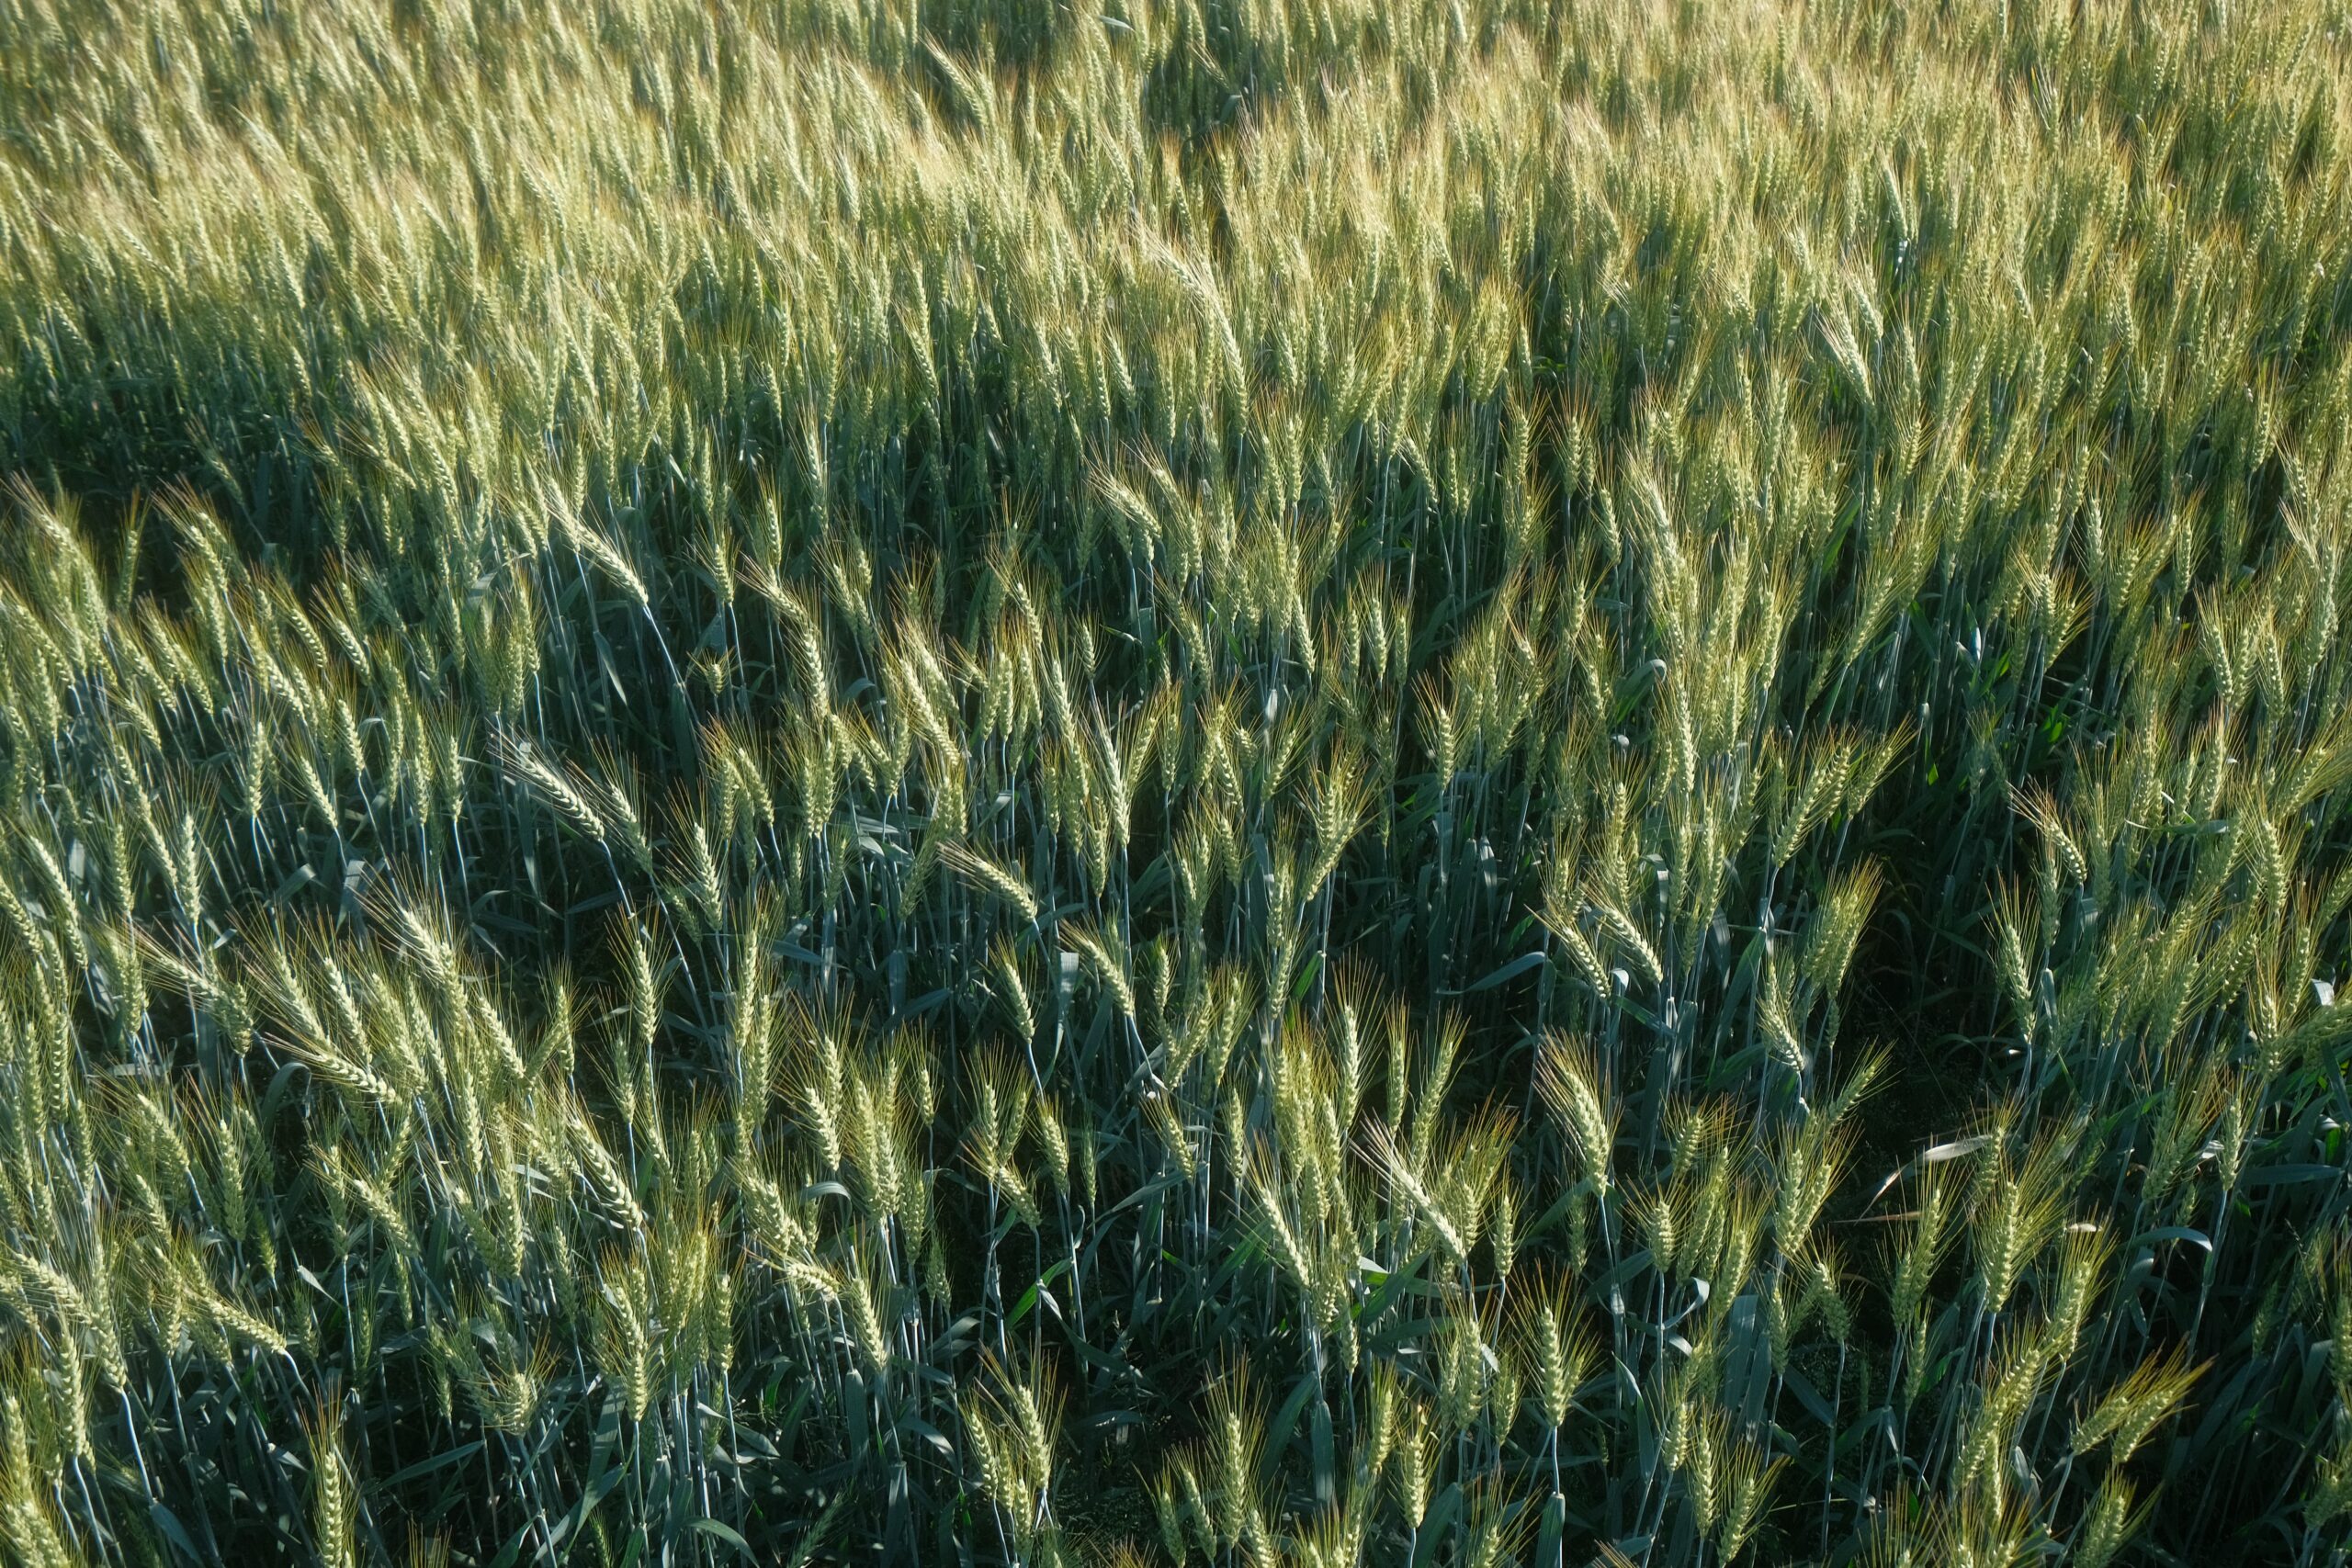
Growing wheatgrass may sound like a daunting task for those who are not experienced in botany and gardening, but it can be easy and rewarding with the right guidance. With its health benefits and delicious taste, wheatgrass is an excellent addition to any garden. As a specialist in botany and gardening, I’m here to share my secrets on how to successfully grow wheatgrass in just 8 easy steps!
This article will provide you with all the information you need to know about growing wheatgrass. It will explain what type of soil is best for growing wheatgrass, how much water it needs, how long it takes to grow and when it’s ready to be harvested. You’ll also learn tips on how to care for your wheatgrass once it has been planted so that it can thrive without fail.
The best part? Growing wheatgrass doesn’t require a large amount of time or money – all you need is a few basic supplies and some patience! With this guide, you’ll have fresh, nutritious wheatgrass ready for harvest in no time at all. So let’s get started!
Gather The Supplies
Have you ever wondered how to grow wheatgrass? If so, you’re in luck as it is quite easy and straightforward! As a specialist in botany and gardening, I will guide you through the process of growing wheatgrass in 8 simple steps.
The first step is to gather the supplies. You will need potting soil, containers, scissors, a spray bottle and of course the wheat seeds. To get the best outcome for your plants, I recommend purchasing organic potting soil that is specifically designed for planting. Containers can be anything from plastic cups to planters; it’s just important that they have holes at the bottom for drainage. Make sure that they are big enough to support the growth of your wheatgrass as it matures. For this project, scissors will be used to cut off any excess grass and trim around the edges; a spray bottle helps keep your wheatgrass hydrated throughout all stages of growth. Finally, make sure to use quality organic wheat seeds when starting your project; these can be found at most health food stores or online retailers.
With all of your supplies gathered, you now have everything you need to start growing wheatgrass! All you need now is patience and a little bit of love as you nurture your plants into maturity. By following these steps carefully and providing all the necessary care for your plants, you can ensure that they will flourish with lush green blades in no time!
Soak The Seeds
From the moment the seeds are gathered, a gardener’s journey of wheatgrass cultivation begins. As they prepare to take the next step, they will be rewarded with a beautiful sight – a sight of plants beginning to sprout in their own garden. It is here that we find ourselves at the second step – soaking the seeds.
Before planting, soaking serves an important purpose as it helps soften and hydrate the seed coat for easier germination. To ensure success, wheatgrass seeds should be soaked for 8-12 hours in cold water. This simple process can often be overlooked by beginner gardeners but should not be overlooked as it is essential for growing healthy plants.
To obtain optimal germination results, after soaking the seeds for 8-12 hours, rinse them thoroughly to remove any excess debris or dirt from the surface of the seed. Water temperature may also play a role – cool water is ideal since warmer water can cause some of the nutrients to leach out and reduce germination rates. Rinsing is a crucial part of wheatgrass cultivation and should not be skipped if one wishes to achieve healthy plants that yield abundant harvests over time.
By following these simple steps and investing some effort into preparation, any gardener can begin their journey towards growing lush green wheatgrass in their own garden!
Rinse The Seeds
Imagine a bowl of wheatgrass seeds soaking in water, preparing to be planted. After the soaking period is over, it’s time to begin rinsing the seeds. Rinsing is an important step when growing wheatgrass as it helps to remove any impurities that may have been present, such as dirt or dust. As a specialist in botany and gardening, I am here to guide you through this process of growing wheatgrass in 8 easy steps.
To successfully rinse the seeds, you will need:
- A large bowl or bucket
- Water
- A strainer
Begin by filling your bowl or bucket with water and add the soaked wheatgrass seeds. Swish them around gently until all of the impurities are removed from the surface of the seeds. Then pour them into your strainer and rinse off any remaining residue using cold running water. Once they have been rinsed properly, move on to preparing the soil for planting!
Rinsing wheatgrass seeds is an essential part of growing healthy plants and sets a strong foundation for success in harvesting nutrient-rich foliage later on. If done right, you can ensure that your plants will thrive without any potential contamination during growth. By following these simple steps while tending to your wheatgrass crops, you can provide yourself and others with nourishing green goodness straight from your home!
Prepare The Soil
When growing wheatgrass, it’s essential to prepare the soil. This will help ensure that your wheatgrass is healthy and grows without difficulty. As a specialist in botany and gardening, I’m here to provide guidance on how to do this.
The first thing you’ll need to do is mix potting soil with water until it has a consistency similar to yogurt or cake batter. You can also use seedling starter mix or composted manure if you’d like an organic fertiliser. You can then add some vermiculite for aeration, as this will help the soil drain well and allow oxygen to reach the roots of the wheatgrass plants.
Once you’ve mixed the soil, spread it out in a shallow tray or container about two inches deep. Then flatten the top of the soil so that it’s even and lightly moisten it with a water sprayer just before planting your wheatgrass seeds. Remember to always use lukewarm water when watering your wheatgrass – cold water can shock and kill seedlings!
Now that we’ve prepared our soil properly, we’re ready to move onto planting our seeds – which is an important step in growing successful wheatgrass plants!
Plant The Seeds
Planting the seeds is an important part of growing wheatgrass. To begin, soak the wheat berries in water overnight to soften their husks. This will help them germinate and grow. After soaking, drain and rinse the berries in a colander or mesh strainer. Fill a tray with potting soil and spread the soaked wheat berries evenly across the surface of the soil. Gently press down on the seeds so that they are lightly embedded in the soil for better contact and moisture absorption.
Cover the tray with either plastic wrap or moist paper towels to retain humidity while keeping out light. Place this tray in an area away from direct sunlight but still receiving indirect light, such as a kitchen countertop or window sill. Keep it there until sprouts appear, usually within 7-10 days depending on environmental conditions like temperature and humidity.
Check your tray daily for signs of growth; if necessary, mist with water to keep moist but not wet, as too much moisture can cause mold formation or seed rot. Once sprouts have grown to 1/4 inch tall, remove any plastic wrap or paper towels that were used for covering and begin regular watering cycles twice daily – once in the morning, and again in the evening – for optimal growth potential and health of your new wheatgrass crop.
Water Regularly
It is a widely accepted theory that regular watering of planting beds is essential for successful germination and growth of wheatgrass seeds. But what is the optimal amount of water needed to ensure that the wheatgrass sprouts and develops into a healthy plant? To answer this question, let us take a closer look at the specific needs of wheatgrass plants when it comes to proper hydration.
As an experienced botanist and gardener, I can tell you that wheatgrass requires frequent yet moderate amounts of water. To begin with, it needs to be watered every two to three days, depending on the temperature and humidity levels in your area. In hot climates or when temperatures are high, more frequent watering may be necessary. On the other hand, in cooler climates you can reduce watering frequency slightly.
When watering wheatgrass plants, you should aim for moist but not soggy soil. Use just enough water so that it penetrates the entire soil depth but does not create puddles on the surface or cause drainage issues. Additionally, avoid getting water on the leaves as this might damage them and stunt their growth. With consistent hydration and adequate sunlight exposure, your wheatgrass will soon start showing signs of germination which you will need to monitor closely in order to enjoy a healthy crop in no time!
Monitor Germination
Monitoring germination is an important step when growing wheatgrass. As the seeds begin to sprout, you can begin to observe the growth of the grass. You should check for signs of germination every day, as some varieties may take days or even weeks to show any visible signs of growth. This is especially true if you’re growing your wheatgrass in a container or tray with limited space and soil moisture.
Once you start seeing the first signs of germination, it’s time to increase watering frequency. However, it’s important to be aware that over-watering can easily lead to root rot and other diseases that will harm your wheatgrass. If you notice any wilting or discoloration, reduce waterings and make sure there is adequate drainage in your containers.
Finally, once the grass has established itself, it is essential that you maintain regular maintenance such as trimming and fertilizing. This will ensure your wheatgrass remains healthy and vigorous throughout its entire life cycle. TIP: When checking for germination signs in a container or tray, use a flashlight occasionally to better illuminate any developing seedlings in dark corners of the container!
Place In Sunlight
Finally, it’s time to move your newly sprouted wheatgrass out into the sun. This final step is essential in order for your plants to thrive and reach their full potential.
For those of us who have access to plenty of sunshine, this can be a simple process. Just make sure the area you are placing the wheatgrass in is well-ventilated and receives at least six hours of direct sunlight per day. It is also important to note that some wheatgrass varieties may require more or less sunlight than others, so do a little research ahead of time if you want to ensure optimal growth conditions.
For those living in cooler climates or with limited outdoor space, you may need to supplement natural sunlight with artificial grow lights – but don’t worry, this can be done relatively easily indoors! With the right setup, providing your wheatgrass seedlings with enough light should not be too difficult.
With your plants now properly situated in an environment where they will receive adequate light, all that remains is for you to sit back and watch them flourish!
Trim Leaves When Necessary
Growing wheatgrass is an important task for any gardener who is interested in growing a healthy crop. Take the case of Mary, a small-scale farmer in North Carolina. She was able to successfully grow wheatgrass using the 8 easy steps outlined in this guide. Now that her plants have been established and she has ample sunlight, it’s time to move onto step 9 and learn how to trim her wheatgrass leaves when necessary.
Trimming your wheatgrass leaves is essential for maintaining optimal health and growth of the plant. Here are three key things to keep in mind:
- To ensure that all leaves receive adequate sunlight, trim them back regularly.
- If there are any dead or weak leaves present, be sure to remove them right away.
- Keep an eye out for any new growth that may need additional trimming as well.
By following these simple steps, you can easily maintain the health of your wheatgrass plants and produce a bountiful harvest each season. It’s also important to remember that proper fertilization plays an important role as well; without it, your wheatgrass won’t have enough nutrients to thrive. With that said, let’s take a look at how we can properly fertilize our wheatgrass plants…
Fertilize Wheatgrass
Fertilizing wheatgrass is an essential step in ensuring the highest quality of your wheatgrass harvest. It’s important to fertilize your wheatgrass at least once every two weeks with a balanced liquid fertilizer such as 10-10-10 or 20-20-20. This will ensure that your plants have enough nutrients to support healthy growth and development. The ratios of these fertilizers are important as they provide the perfect balance of nitrogen, phosphorus and potassium for optimal growth.
When applying the fertilizer, it’s best to dilute it with water according to package instructions so that you don’t burn your plants. You can also add a few drops of liquid seaweed extract or fish emulsion to boost nutrient uptake and increase the overall health of your wheatgrass. Additionally, make sure to water the soil around your plants first before applying any fertilizer; this will help reduce shock to their roots from direct contact with fertilizer.
Finally, always avoid using too much fertilizer as this can damage or even kill your plants. Aim for moderation and stick to the recommended application rate for best results! With proper fertilization, you will be able to enjoy a bountiful harvest of fresh wheatgrass in no time!
Harvesting Wheatgrass
Once your wheatgrass has grown tall enough, it is time to harvest it. This is an important step in the process of growing and caring for wheatgrass, as harvesting at the right time will ensure the best flavor and nutritional profile. It is also crucial to use a sharp knife or scissors so that you don’t damage any of the tender leaves.
Before harvesting, be sure to water your wheatgrass thoroughly for several days prior. This will help maximize flavor and nutrient content. When you are ready to begin, cut off the entire blade of grass from its base with a sharp object such as a knife or scissors. You can then rinse it off with cool water and pat dry before using it or storing it for future use.
After harvesting your wheatgrass, you will need to properly store it in order to preserve its freshness and flavor. Storing correctly is essential if you want to make use of all the nutrition that this amazing plant can provide!
Storing Wheatgrass
Growing and caring for wheatgrass is an absolute necessity for anyone looking to bring life into their garden! It’s not only an incredibly rewarding hobby, but it also offers a great opportunity to truly make a difference with something that you can learn to care for yourself. And when it comes to the final stage of caring for wheatgrass – storing it – we need to take extra special care. After all, this is the point where our hard work begins to pay off!
When storing wheatgrass, one must be sure they do so in the correct environment. Ideally, this should be a spot which is cool and dark; exposure to direct sunlight or extreme temperatures could damage the plants and render them unsuitable for consumption. It is also important that any containers used are airtight so as to keep moisture out; otherwise, mold may form on the surface of the wheatgrass.
Finally, proper storage of wheatgrass requires careful attention to detail. Always ensure your storage container has enough space between each layer of grass; overcrowding can lead to wilting or rotting of the plants before they can be enjoyed. With just a few simple steps and some patience, you’ll be able to reap the rewards of your labor by being able store your precious crop safely and securely!
Replanting Wheatgrass
Believe it or not, you can replant wheatgrass and get a second crop if done correctly. According to statistics, the majority of people who try wheatgrass only do one harvest before giving up. But by understanding how to properly replant your wheatgrass, you could enjoy up to four harvests from the same tray! As a specialist in botany and gardening, let me show you how to maximize your wheatgrass production.
The first step in replanting your wheatgrass is to prepare the soil. You’ll need to replace all of the old soil with fresh organic potting mix. This ensures that there will be enough nutrients for your new crop of wheatgrass and that there won’t be any disease-causing organisms lurking in the soil. Next, spread the pre-soaked seeds over the top of the soil and lightly press them into place so they make contact with the soil below. Water gently and keep moist until germination occurs.
Once your new crop is about three inches tall, it’s time for harvesting! Cut off as much as you need for juicing or snacking at this stage; this will also encourage more growth! Replanting after each harvest will give you an additional 3-4 harvests with proper care. To ensure successful plants every time, water regularly and feed with liquid seaweed fertilizer every couple weeks or so.
By following these steps, you can easily get multiple harvests from a single packet of wheatgrass seed! Knowing how to replant is key to getting an abundance of nutrition from this superfood powerhouse – plus it’s just plain fun! With careful attention to soil preparation, regular watering and feeding with liquid fertilizer, you’re sure to have success when replanting wheatgrass again and again.
Controlling Pests And Diseases
The hardiness of wheatgrass makes it a popular pick for both the home gardener and those looking to plant in larger spaces. But, as with any type of grass, pests and diseases can threaten its health. Controlling these potential issues is a critical step for ensuring a successful harvest.
With careful vigilance, gardeners can take proactive steps to protect against unwanted pests and diseases that may harm their wheatgrass crop. Firstly, practicing proper sanitation around the area where you are growing your wheatgrass will help reduce the risk of contamination from nearby plants and animals. Secondly, rotating crops seasonally will help reduce the spread of disease-causing organisms. Finally, providing ample spacing between plants helps to ensure adequate air circulation and sunlight exposure – two key elements in preventing fungal growth and other illnesses.
Thus, tackling pests and diseases is certainly no easy task; but with a little bit of effort and know-how, any gardener can have success in protecting their wheatgrass crop from potential harm. By utilizing these preventative measures now, you’ll be well on your way to reaping the rewards of a healthy harvest later!
Wheatgrass Benefits
Wheatgrass is a truly remarkable plant that has many beneficial characteristics. Not only does it look beautiful, but it also provides a wealth of health benefits to those who consume it. In this article, we’ll be exploring the benefits of wheatgrass and how they can improve your life.
The primary benefit of wheatgrass is its nutrient-dense composition. It’s packed with antioxidants, vitamins, minerals, and other essential nutrients that can help boost immunity, reduce inflammation, and support healthy digestion. Additionally, wheatgrass contains chlorophyll which helps promote detoxification and wound healing.
When it comes to consuming wheatgrass, there are several options available depending on your preferences. You can drink fresh-pressed wheatgrass juice or add powdered grass to smoothies or juices for an added health boost. Alternatively, you can purchase pre-packaged products like tablets or capsules if you don’t have time to prepare the wheatgrass yourself. No matter how you decide to consume it, adding wheatgrass into your lifestyle is sure to provide tremendous health benefits!
Frequently Asked Questions
How Long Does It Take For Wheatgrass To Grow?
Growing wheatgrass is a snap – if you know what you are doing. As an expert in botany and gardening, let me tell you how long it takes for wheatgrass to sprout up. First off, it depends on the conditions of your environment. If all the elements are right, then it could take around 7-14 days for seedlings to appear.
When growing wheatgrass, you have to make sure the soil is moist and warm throughout the entire process. This can help speed up the germination time as well as give your wheatgrass a better chance of surviving. You also need to provide adequate light and moisture for your plants. If done correctly, your wheatgrass should be ready for harvest in about 2 weeks!
Once harvested, your wheatgrass should last between 3-4 weeks if stored properly in a sealed container or bag in the refrigerator. To keep it looking fresh, cut it regularly and give it plenty of water. With the proper care and attention, you will be able to enjoy and benefit from this superfood for many months to come!
Can I Grow Wheatgrass Indoors?
Growing wheatgrass indoors is an attractive and easy way to reap the benefits of this nutrient-rich, low-calorie superfood. It can be grown without soil in a pot or tray and requires only minimal maintenance. It’s a great option for those who don’t have access to outdoor space to grow their own wheatgrass.
However, when growing wheatgrass indoors it’s important to keep in mind that the environment must be carefully monitored and managed. The amount of light your plants receive is critical; too much or too little light will affect the growth rate, size, and overall health of your wheatgrass. A south-facing window with plenty of direct sunlight is ideal for indoor wheatgrass growth, but supplementing with grow lights may also be necessary depending on your location or time of year.
Additionally, it’s important to ensure the humidity levels stay consistent for optimal growth; too much moisture can lead to mold or fungal infections while too little moisture can stunt your plants’ progress. Monitoring temperature levels is also key—wheatgrass does best at temperatures between 60-70 degrees Fahrenheit. With some patience and forethought, you can successfully cultivate your own indoor wheatgrass crop!
What Is The Best Way To Store Wheatgrass?
As the old adage goes, “One person’s trash is another person’s treasure.” This rings true for wheatgrass, an incredibly versatile and resilient plant that can be harvested for a variety of uses. But, what’s the best way to store it? For botanists and gardeners alike, this is an important question to consider as part of their regular harvesting routine.
Wheatgrass should be stored in a cool and dry place, away from direct sunlight. Refrigeration is ideal but not mandatory; if refrigeration isn’t available, then wheatgrass should at least be kept out of direct sunlight in a cool room or cellar. If it must be refrigerated, wrap the stalks loosely with damp paper towels before storing them in sealed plastic bags or containers.
It’s also important to note that wheatgrass can still be used even after it begins to yellow or wilt. As long as there are no signs of mold growth, it can still be juiced and enjoyed; just make sure to use it within 2-3 days after harvest for optimal flavor and nutritional value! With these simple storage tips in mind, you can enjoy your freshly harvested wheatgrass for days on end.
What Are The Nutritional Benefits Of Wheatgrass?
Some people may feel skeptical about the nutritional benefits of wheatgrass, but there is actually a lot of evidence to suggest that it is highly beneficial. As a botanist and gardener, I have seen first-hand many of the beneficial effects this plant can have. From aiding digestion and boosting immunity to enhancing energy levels, wheatgrass offers several advantages.
First off, wheatgrass has a range of vitamins and minerals that can contribute to a healthy diet. It is especially high in Vitamin A and C, which are both essential for good health. It also contains iron, magnesium, potassium and calcium, along with other important trace elements. This makes it an ideal supplement for those looking to top up their vitamin intake naturally.
Additionally, wheatgrass is packed with antioxidants which help protect your cells from damage caused by free radicals. The antioxidants found in wheatgrass can also help reduce inflammation in the body and strengthen the immune system. Furthermore, its high chlorophyll content helps promote detoxification by binding toxins together so they can be easily removed from your body.
Wheatgrass isn’t just a superfood – it’s one of nature’s most powerful healing plants! Not only does it provide essential nutrients for optimum health and vitality but its antioxidant properties help fight disease and improve overall wellbeing too. By adding this hardy plant to your diet you can enjoy all these benefits without having to worry about any negative side effects.
Are There Any Special Tools Needed To Grow Wheatgrass?
The tools required for growing wheatgrass may seem subtle, but the symbolism of their importance is profound. To harvest this vital crop, one must have the right tools to sow and nurture its growth. While no special equipment is necessary, having a few items on hand can make the process easier.
For starters, a sunny windowsill or grow light will serve as a source of sunlight for the seeds to take root and sprout. The light should be kept near to the soil surface in order for the wheatgrass to receive adequate sun exposure. Additionally, an organic potting mix is recommended for planting wheatgrass seeds in containers; this will provide ample drainage and nutrients to help ensure healthy growth.
Finally, a pair of scissors or kitchen shears will come in handy when it’s time to harvest the wheatgrass. It’s important to cut it at least two inches above ground level so that it can regrow after clipping; this way, you’ll get multiple harvests from your wheatgrass plants throughout the season. With these simple tools and knowledge on hand, anyone can reap the nutritional benefits of growing their own wheatgrass!
Conclusion
Growing wheatgrass doesn’t have to be a difficult endeavor. With some patience, focus, and the right tools, it can be a rewarding experience with many benefits.
Wheatgrass is an incredibly nutritious plant that has been used for centuries to improve health and well-being. Not only does it contain several essential vitamins and minerals, but it also contains chlorophyll which can help remove toxins from the body. Additionally, growing wheatgrass indoors adds a touch of greenery to your home and can make for a pleasant visual experience.
Overall, growing wheatgrass is an enjoyable activity that comes with many rewards. With just a few simple steps you can start your own wheatgrass garden in no time! Don’t let the intimidating task of growing this ancient grass deter you; with the right guidance and some tender loving care you will be enjoying the beauty of wheatgrass in no time!

