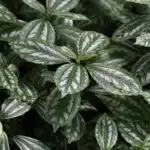
The beauty of plants and flowers has captivated the hearts of people for centuries. But can the growing and care for these plants actually have a positive impact on our lives? Recent studies have shown that caring for plants can reduce stress, increase happiness, and even improve physical health. This theory is especially true when it comes to taking care of coral bells.
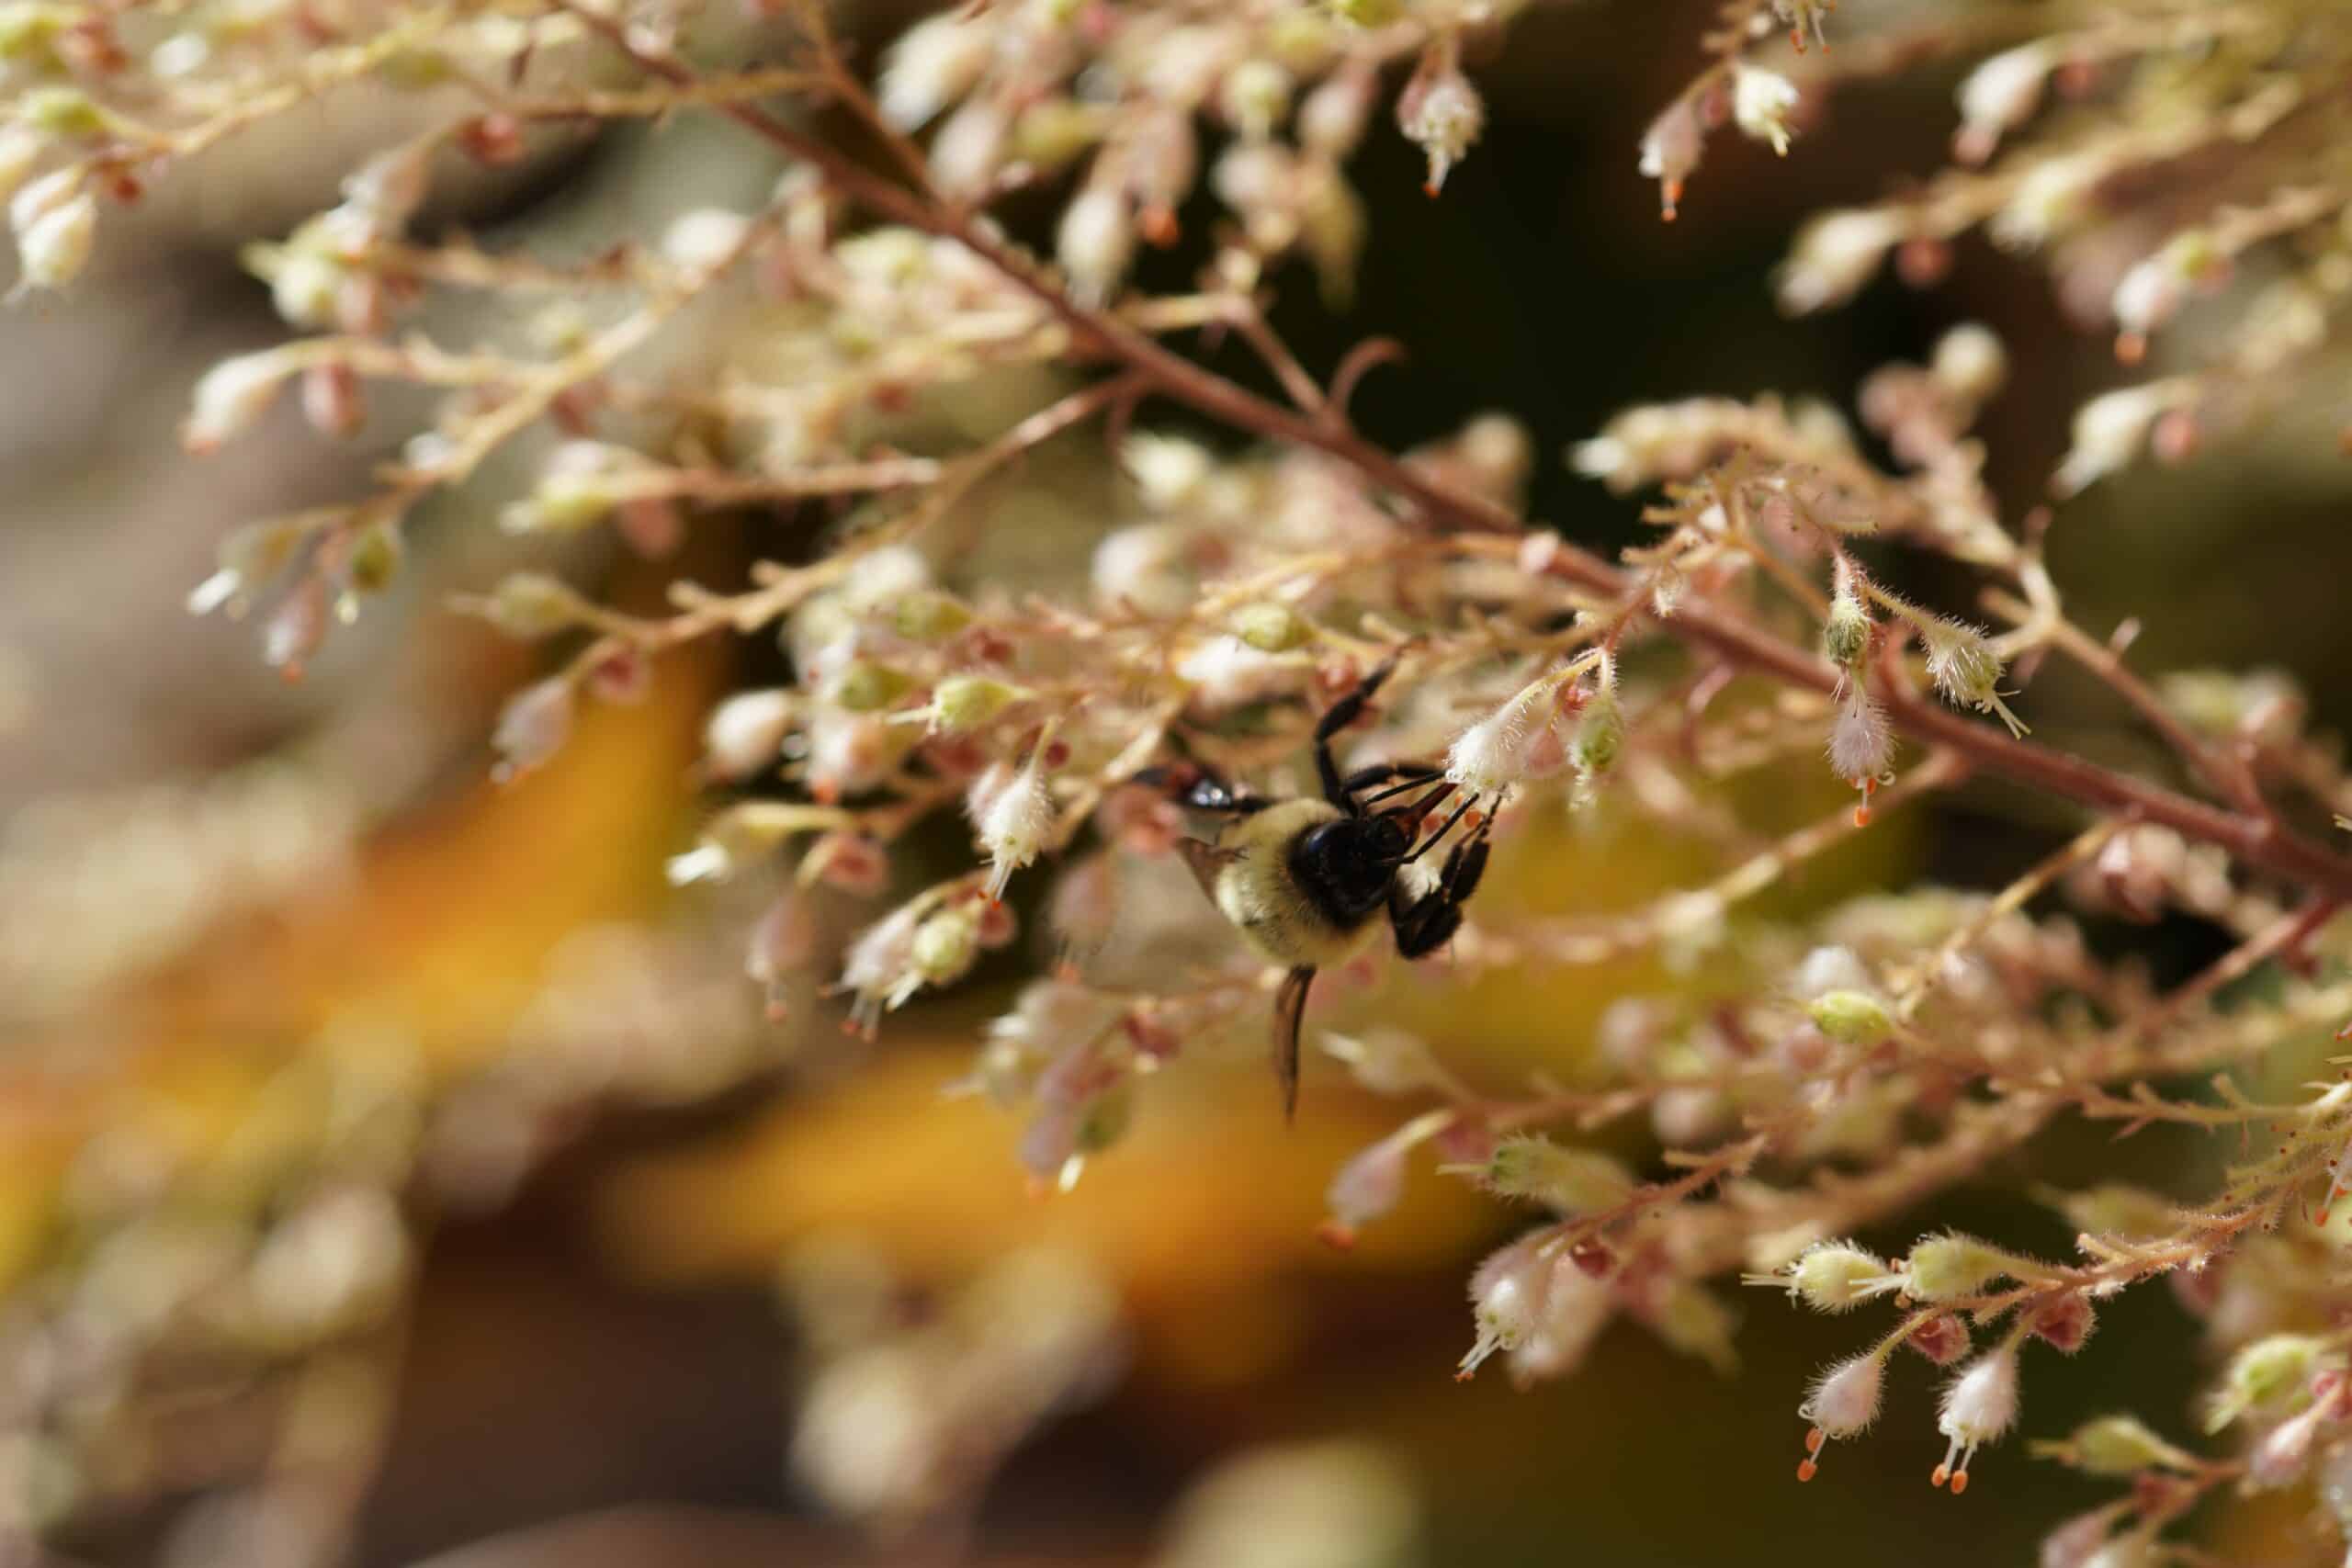
Coral bells, or Heuchera as they are scientifically known, are a type of flowering perennial plant with beautiful foliage and bell-shaped blooms. They are relatively low maintenance and can bring an interesting twist to any garden or landscape. But if you want your coral bells to thrive, it is important to provide them with the right environment and the correct care.
In this article, we will explore how to grow and care for coral bells so that you can enjoy their vibrant colors and lush foliage in your outdoor space all year round. We will investigate how they should be planted, what their ideal climate is, how much sun they need, as well as other essential tips for keeping them healthy. So read on to find out more about this eye-catching flower!
Choosing The Right Coral Bells Plant
As any gardener knows, the right plant for the right place is key to success. When it comes to growing coral bells, that means selecting a variety that’s suitable for your garden’s conditions – and one that you find beautiful. But with so many different Heucheras available – from rich burgundy leaves with silver veins to variegated greens and pinks – how can you decide?
Fortunately, there are some tips on choosing the best coral bells for your space. Start by considering your climate: most varieties of Heuchera will tolerate temperatures down to -30°F (-34°C), but some are hardier than others. If you live in a cold winter area, choose a variety like ‘Obsidian’ or ‘Palace Purple’ that can withstand more extreme temperatures. If you live in an area with hot summers, select varieties bred for heat tolerance such as ‘Georgia Peach’ and ‘Berry Smoothie’.
Next up is light: most Heuchera prefer partial shade, but some (like the popular ‘Lime Rickey’) will thrive in full sun if given enough water during dry spells. Consider your soil too: while they don’t need particularly rich soil, they do prefer a well-draining loam with plenty of organic matter added. With all these factors considered, you should be able to find a Heuchera that meets your needs and looks stunning in your garden! Now it’s time to prepare the planting area…
Preparing The Planting Area
When it comes to preparing the planting area for a coral bells plant, there are a few important steps to take. Firstly, you’ll need to decide on the right location. Coral bells thrive in bright, indirect light and moist soil with good drainage. It’s also important to make sure that the soil is rich in organic matter and has been amended with compost or peat moss.
Once you have chosen the right spot, it’s time to get your hands dirty! To make sure that your coral bells have plenty of room to grow, dig a hole that is twice as wide and just as deep as the pot they come in. After removing any rocks or roots from the hole, fill it back up with rich soil and water thoroughly.
Finally, if you’re planting multiple coral bells plants together, make sure to leave at least 12 inches of space between each one. This way, they will all have enough room for their roots and foliage to spread out without crowding each other. With these steps taken care of, you’re now ready for planting!
Planting Coral Bells In The Garden
Planting coral bells into the garden is relatively straightforward. Much like getting a head start in life, having preparations made before planting can be beneficial. The first step is to select the right spot for the coral bells. Ideally, they should be planted in a location that gets partial sun and provides excellent drainage.
When it comes time to actually plant, use a trowel or shovel to loosen up the soil before adding compost or other nutrient-rich materials. These can help provide additional nutrition for the plants while also helping them retain moisture during dry spells. After loosening up the soil, dig a hole large enough for the roots of the coral bells and place it inside before filling in with soil and patting down gently around it.
After all this is done, water regularly, being careful not to overwater as this can lead to root rot. Taking some precautions with fertilizers is also important; too much fertilizer can cause leaf burn and discoloration of foliage. With proper care and attention, your garden will soon be filled with beautiful coral bells!
Planting In Containers
If you’re hesitant to try planting coral bells in containers, let me reassure you that it’s easy and rewarding. You don’t have to have a green thumb or garden expertise to grow these beautiful plants in pots. All you need is some patience and love.
Firstly, let’s start with the potting mix. Choose a soil that is well-draining yet retains some moisture, such as a mixture of equal parts peat moss, vermiculite, and perlite. In order to provide your potted coral bells with adequate nutrition, add a slow-release fertilizer at the time of planting and then every two months during the growing season.
Next comes planting your coral bells in containers. Be sure to use a container with drainage holes so that water does not accumulate at the bottom. Fill it with soil up to 2 inches from the top and carefully loosen any roots before placing it in the container. Then fill the container with soil up to an inch or two away from the rim of the pot and gently press it down around the roots for good contact between soil and root system. Water thoroughly after planting and place it in an area that receives partial sun or light shade for optimum growth.
You’ve now planted your coral bells in a pot! By following these simple steps, you’re well on your way to having gorgeous plants growing in no time! Now that they are established, all they need is regular watering so they can thrive – but more on that later…
Water Requirements For Coral Bells
Amazingly, coral bells don’t require too much water. Imagine that! The key to success with these plants is to give them a good drink of rain or tap water once a week. That’s it! This way they can get the necessary moisture they need without becoming soggy and prone to rot.
When watering your coral bells, make sure you use lukewarm water rather than cold. Cold water can shock the plant and cause root damage. Additionally, avoid getting the leaves wet as this increases the risk of fungal diseases like powdery mildew. It’s best to water in the morning so any excess moisture has time to evaporate before evening temperatures drop.
Finally, test the soil around your coral bell plants with your fingers before deciding if they need more water or not. If it feels dry an inch below the surface, it’s probably time for another drink. On hot days you may even need to water twice a week in order to keep them healthy and happy! With regular watering and care, your coral bells will thrive and provide beautiful color all season long.
Fertilizing Coral Bells
Fertilizing coral bells is like a chef adding spices to a meal; it adds the necessary extra flavor and nutrients to help the plant grow. When it comes to fertilizing, more isn’t always better. Too much fertilizer can be hazardous for these delicate plants, sometimes leading to death. The key is finding the right balance of fertilization for coral bells.
The best way to ensure that your coral bells get enough nutrition is by using a slow-release fertilizer once per month during the growing season. A 5-10-5 or 6-12-6 fertilizer can be used, and should be applied at approximately 30% of the rate specified on the label. During winter months, when they are not actively growing, they don’t require as much food so you can skip fertilizing them.
For best results, mix in some compost or other organic matter into your soil before planting your coral bells; this will help provide them with additional nutrients throughout their life cycle. Additionally, make sure not to let mulch accumulate around the base of the stem where it meets the soil – this can lead to rot and ultimately cause death of the plant! With proper care and attention, your coral bells can thrive in any garden setting.
Pruning And Deadheading Coral Bells
Pruning and deadheading are important for the health of your coral bells. This helps to keep the plants vigorous and blooming. By removing faded or damaged foliage, you can help encourage new growth and brighten up the plants’ appearance.
Pruning coral bells is best done in early spring before new growth begins. Cut back any stems that are too long or unruly, and remove any leaves that have become brown or damaged. Deadheading is also a good way to keep your coral bells looking neat and tidy. Simply snip off any flower heads as soon as they’ve begun to fade. This will help prevent them from going to seed and may encourage additional blooms later on in the growing season.
With regular pruning and deadheading, you’ll be rewarded with a beautiful display of foliage and flowers all season long! Plus, it’s an easy way to ensure your plants remain healthy and vibrant. Now that you know how to care for your coral bells, it’s time to learn about propagating these lovely plants!
Propagating Coral Bells
Propagating coral bells is a great way to spread the beauty of this beloved garden plant. It’s an easy process that can be done with minimal effort, and you’ll find that it helps increase the number of plants you have in your garden.
To propagate coral bells, you’ll need either stem cuttings or root divisions. If you’re using stem cuttings, look for healthy stems with plenty of leaves. These should be cut at a 45-degree angle and placed in potting soil that has been moistened. Make sure to keep the soil moist while awaiting new growth. Root divisions are just as simple, but they require more effort since you’ll need to dig out the entire plant from its current location and divide it into smaller sections. Once divided, replant each section separately in well-draining soil.
It’s important to note that propagating coral bells isn’t always successful, so don’t worry if it doesn’t work out the first time or if one cutting fails to survive. With patience and care, most cuttings will do fine in their new home. TIP: To ensure success when propagating coral bells, make sure you provide them with plenty of sunlight and water them regularly until established roots form.
Common Problems With Coral Bells
It is true that caring for coral bells plants can be difficult, but with a bit of knowledge and careful attention, you can ensure that your coral bells are healthy and thriving. Before we look at the common problems associated with these plants, let’s address one potential objection: many gardeners worry that coral bells are too delicate to care for. However, this simply isn’t the case; if you follow the correct guidelines for growing and caring for them, you’ll have beautiful flowers in no time!
Now let’s look at some of the most common issues experienced by gardeners when it comes to their coral bells. One issue is incorrect soil drainage; if your soil doesn’t drain properly, then your coral bell plants may suffer from root rot or other fungal diseases. Additionally, they require lots of light; make sure they’re getting enough sun exposure during the day or they could become leggy and weak. Finally, watch out for pests such as aphids or slugs; if left unchecked, these bugs can damage your delicate flowers.
Fortunately, there are easy ways to prevent all of these issues with proper maintenance and care. Make sure your soil is well-draining and plant in an area that gets ample sunlight throughout the day. If necessary, provide some additional shade during especially hot days. Additionally, check for any signs of pests on a regular basis and use natural pest control methods such as neem oil sprays or horticultural soap sprays to keep them away from your coral bells. With just a little bit of effort, you should be able to ensure that your plants stay healthy and happy! Now let’s look into how to deal with diseases affecting coral bells…
Diseases Affecting Coral Bells
Ah, diseases affecting coral bells – the bane of any gardener’s existence! While these stunning perennials can bring plenty of beauty to a garden, they can be vulnerable to disease if not properly cared for. And what’s worse is that often, by the time you know there’s a problem, it may already be too late. Let’s take a closer look at some of the common ailments that may afflict our beloved coral bells.
First and foremost is powdery mildew, which is caused by poor air circulation or excessive moisture. This fungal disease appears as a white or grayish powder on the leaves, and it quickly spreads if left untreated. To prevent this issue from occurring in the first place, make sure to keep your coral bells in an area with good air flow and avoid overwatering them.
Though less common than powdery mildew, rust can also be an issue for coral bells. This fungus typically only affects plants grown in overly humid environments and shows up as orange spots on the leaves. To reduce its occurrence, try pruning away affected foliage or providing more light to your plants during periods of high humidity.
The best way to avoid any kind of disease in your coral bells is by practicing proper care and maintenance – regular watering and fertilizing will go a long way toward helping them stay healthy and strong. With that said, let’s move on to explore the next challenge faced by our colorful flowers: pests attacking coral bells.
Pests Attacking Coral Bells
Ah, coral bells! A beautiful, lush plant that can grace any garden or home with its soft foliage and delicate flowers. But beware, the nastiest of pests are out to get these gorgeous plants! From root-eating grubs to leaf-chewing caterpillars, it seems like there is no end to the horrors that can befall a coral bell. Here are just four of them:
Aphids: Small and green with an appetite for sap, aphids can quickly spread from plant to plant and wreak havoc on your coral bells.
Beetles: These hard little pests munch away on leaves, leaving their victims spotted and scabby.
Cutworms: These plump little fellows lay their eggs in the soil near the base of your coral bell plants and feed on young roots as they hatch.
Mealybugs: Covered in a waxy white coating, mealybugs are particularly fond of new growth at the tips of stem and leaves.
It’s enough to make even the most seasoned gardener shudder in horror at the thought of these pests attacking their beloved coral bells! Thankfully, there are steps you can take to protect your plants from damage by these uninvited guests. In addition to using insecticidal sprays and soaps, you’ll also want to keep an eye out for signs of infestation so you can take swift action if necessary. With a few simple precautions and regular monitoring, you can ensure your coral bells stay safe from harm.
Now that we know about some common threats facing our precious coral bells, let’s turn our attention towards ensuring they survive through winter conditions with ease.
Tips For Overwintering Coral Bells
Caring for coral bells can be like a journey – full of twists, turns and surprises. But with the right knowledge and preparation, you’ll make it through to the other side with your beloved plants in one piece! When winter approaches, there are some tips for overwintering coral bells that you should consider to keep them healthy and looking their best.
To start off, choose a spot in your garden where they will get partial sun and shade. This will help protect them from extreme temperatures and snow buildup. For even more protection, cover the plants with burlap or a frost blanket. If you live in an area with colder temperatures than normal, you may want to consider bringing them indoors for the winter.
When it comes to watering, it’s important to reduce watering during this time since the soil will be less moist due to colder temperatures. You should also add a layer of mulch around each plant so that the soil retains moisture and protects against freezing temperatures. Lastly, make sure to prune any dead or damaged foliage before winter sets in so that new growth is encouraged in springtime.
With these simple tips for overwintering coral bells, you can ensure healthy growth throughout all seasons of the year! Next up we’ll take a look at how to design with coral bells for beautiful displays all year round.
Designing With Coral Bells
Designing with coral bells adds a stunning visual to any garden. These delightful plants are versatile and can be used in many ways, from cottage gardens to formal beds. Here are some tips for using coral bells to make the most of your garden.
First, when it comes to color, there’s something for everyone. Coral bells come in a variety of shades and hues, from vibrant greens to deep pinks and purples. You can also find them in variegated forms for a truly eye-catching effect. With so many options available, you can create bold or subtle combinations depending on your style and preference.
Next, think about texture when incorporating coral bells into your design. The foliage is ruffled and delicate, providing an interesting contrast against other plants in the area. To enhance this contrast even further, pair them with larger-leaved plants like hostas or ferns that have different shapes and sizes than the coral bells’ foliage. This will create a more dynamic look that draws attention to all the plants involved.
Coral bells also look great when planted in mass groupings or used as edging along pathways or flower beds. When placed together they provide an additional layer of texture while offering a uniform look that stands out from other elements in the garden. With just a few simple steps you’ll be able to create beautiful landscapes with these lovely plants!
Best Companion Plants For Coral Bells
The lush, mounded foliage of coral bells creates an idyllic backdrop in any garden. The delicate, bell-shaped flowers that adorn the plant offer a charming addition to any planting bed. But for a garden to truly come alive, it needs more than just one type of plant. That’s why many gardeners consider the best companions for coral bells.
When selecting companion plants for coral bells, look for plants with similar sun and soil requirements. Colorful annuals can bring bright pops of contrast against the muted tones of the foliage. Perennials such as hostas, daisies, and asters add texture and form to the landscape while blending nicely with the heuchera leaves. Grasses provide a nice backdrop by adding movement and texture with their swaying blades or feathery plumes.
These carefully selected companions will create an eye-catching display that doesn’t overwhelm the beauty of the coral bells. Each companion will have its own purpose in adding depth and complexity to your garden design while supporting the overall health of your heuchera plants. With these complementary additions, you can enjoy a stunning array of color and texture all season long!
Tips For Growing Healthy Coral Bells
Are you looking for tips to ensure your coral bells grow healthy and strong? With the right care, these plants can bring a splash of vibrant color and texture to any landscape. Let’s explore some essential tips for growing beautiful coral bells.
First, it’s important to give your coral bell the proper environment to thrive. Choose a spot that has partial sun or light shade, as too much direct sunlight will scorch its leaves. Additionally, make sure the location provides good drainage so the roots don’t stay wet for extended periods of time. If necessary, add mulch around the base of the plant to help retain moisture.
Also, monitor soil conditions regularly by checking it every two weeks or so. Coral bells prefer soils that are slightly acidic and moist but not soggy—you can adjust pH levels with fertilizer if needed. Finally, ensure your coral bell is properly watered; during dry spells you may need to give it an extra drink or two to keep it happy!
These simple steps will help you create an ideal environment for your precious coral bell—one that will keep it thriving all season long!
Frequently Asked Questions
What Types Of Soil Are Best For Growing Coral Bells?
Growing coral bells, Heuchera, successfully requires the right soil mixture. Using a quality potting mix or garden soil enriched with compost and organic matter is the best way to ensure good growth and blooming. Additionally, it’s important to provide the plants with well-draining soil that is rich in nutrients.
For optimal growth, it’s essential to use a soil mixture with a pH of 6.0 to 7.0 for these perennials. Adding lime to acidic soils can help raise the pH level; conversely, sulfur can be added to reduce alkalinity and create an environment more suitable for coral bells.
When planting in containers, select a lightweight potting mix that contains sphagnum peat moss and perlite or vermiculite for improved drainage and aeration. For outdoor beds, incorporate plenty of organic matter into existing soil before planting coral bells. This will improve drainage while helping retain moisture and adding necessary nutrients for optimal growth.
Are Coral Bells Toxic To Pets?
Coral bells, also known as Heuchera, are beautiful foliage plants that can be found in many gardens. With their vibrant colors and low-maintenance nature, these plants can add a pop of color to any outdoor space. But before adding them to your garden, it is important to know if coral bells are toxic to pets.
The good news is that coral bells are not considered toxic for cats or dogs. However, some pets may be sensitive to the plant’s sap or show signs of skin irritation after coming in direct contact with them. Therefore, it is best to keep coral bells away from curious paws if possible and monitor your pet for any signs of an adverse reaction.
If you have both animals and coral bells in your garden, it is important to ensure that they both get enough space in order to coexist peacefully. Taking the appropriate steps when caring for your coral bells will help ensure that they stay healthy and vibrant while keeping your pet safe and happy too!
How Often Should I Water My Coral Bells?
Satire can be a great way to visualize how often one should water their beloved Coral Bells. Picture this: You’re standing there with your trusty watering can, questioning whether you should pour the contents of it on the plants. After all, too much water could cause harm. On the other hand, too little water could lead to wilting leaves and a sad-looking plant. It’s a delicate balance, but fear not! We’ll help you figure out how often to water your Coral Bells.
First off, let’s look at the amount of water that these plants need. Generally speaking, Coral Bells thrive with an average amount of water—not too much and not too little. How does one define an “average” amount? Well, it’s best to check the soil around your plant once or twice a week and if it feels dry then give it a good drink of water until some drains out from the bottom of the pot; this is usually enough for optimal growth and health.
Though well-draining soil is key in keeping your Coral Bells healthy, there are other factors that should also be taken into consideration when deciding how often to water them. For instance, during very hot weather extra watering may be necessary as evaporation increases in hotter temperatures. If you live in an area with high humidity levels then you may need to cut back on watering; this will prevent root rot due to excessive moisture in the soil.
So now that we’ve discussed what kind of environment will suit your Coral Bells best, remember that getting the right balance between moist and dry is essential for successful growth and blooming flowers!
Is It Possible To Grow Coral Bells Indoors?
It may come as a surprise, but it is possible to grow coral bells indoors. According to the American Heuchera Society, indoor heuchera plants can survive in temperatures up to 75 degrees Fahrenheit. This makes it easy for gardeners to keep them alive and thriving at home.
However, just like any houseplant, there are some important considerations when growing this delicate flower indoors. Here are three tips for successfully growing heuchera in your home:
Provide plenty of indirect light. The best spot for heuchera is one that gets bright light without direct sunlight for more than a few hours each day.
Water well and fertilize monthly. Heuchera likes consistently damp soil and should be watered every couple of days during the summer months and once a week during the winter months. During the spring and summer you should use a balanced liquid fertilizer every month or so to help them thrive.
Repot annually or when needed. Heuchera prefers small pots with good drainage, so you should repot them into fresh potting soil each year or when they become root-bound in their current pot (which can happen quickly).
Growing heuchera indoors requires careful attention and patience, but with these tips it’s possible to enjoy this beautiful plant from the comfort of your own home! It’s worth the effort too—heuchers produce gorgeous foliage that adds vibrancy and texture to any living space throughout the year.
Should I Fertilize My Coral Bells?
Fertilizing your coral bells is an important step in ensuring that they reach their full growth potential and stay healthy. When it comes to fertilizing, there are a few key things you should keep in mind: the type of fertilizer you use, when to fertilize, and how much to apply. Let’s take a look at these points one by one.
First, it’s important to choose the right fertilizer for your coral bells. A slow-release fertilizer with balanced nutrients like nitrogen, phosphorus, and potassium is your best bet. It’s also helpful to select an organic fertilizer if possible – this will provide the most natural nutrition for your plants.
Second, timing is essential when it comes to fertilizing your coral bells. To ensure they get the nutrients they need throughout their growth cycle, it’s important to spread out applications throughout spring and summer. Here’s a quick checklist of steps you can follow to make sure you’re on track: •tIn late winter or early spring, apply a slow-release fertilizer before new growth begins •tFertilize again halfway through the growing season •tRepeat application at the end of summer or beginning of fall
Finally, figuring out how much fertilizer you should use for your coral bells also requires some thought. Generally speaking, applying 1/2 pound per 100 square feet is a good place to start; however, it’s always best to read the instructions on the package and adjust accordingly based on its recommendations. Too much fertilizer can actually damage your plants; so err on the side of caution!
With just a bit of planning and preparation, you can ensure that your coral bells receive all of the nutrients they need for healthy growth – leaving them looking beautiful for years to come!
Conclusion
The beauty of coral bells, or Heuchera, makes them a popular choice for gardeners looking to add some color to their outdoor space. As with any plant, proper care is essential to ensure the best possible results. With the right soil, watering schedule, and fertilizing regimen, your coral bells will thrive and bring life to your yard.
Coral bells are a sight to behold in the summer months when they are covered in vibrant blooms. Whether you choose to grow them inside or out, they will provide an eye-catching display that will brighten up any garden. With just a bit of effort, these plants can be the crowning jewel of your outdoor oasis – a kaleidoscope of color that adds beauty and life wherever it is planted.
So if you’re looking to add some pizzazz to your garden this season, consider growing coral bells! With the right combination of soil conditions and tender loving care, you’ll soon have a stunning array of colorful blooms that will turn heads and lift spirits alike. And who knows? You may even find yourself falling head over heels for these majestic beauties!

