Picture a lush, vibrant vegetable garden basking in the warm sunlight. The rows of freshly tilled soil burst with life and promise, while carefully planted seeds sprout into healthy, nourishing food. Creating your own raised bed garden can make this dream come true!
Raised bed gardens are an easy and efficient way to grow beautiful plants and vegetables in a small space. Whether you have a small balcony or a large backyard, raised beds allow you to cultivate fresh produce without taking up valuable real estate. Best of all, building a raised bed is simple and doesn’t require any special tools or materials.
In this article, we’ll show you how to build your own raised garden bed from start to finish. We’ll cover everything from selecting the right materials to planting the perfect crop for your climate and taste preferences. Get ready to turn your outdoor space into an oasis of deliciousness with your very own raised bed garden!
Gather Your Materials
Building something is often like a journey – difficult and unpredictable, but ultimately rewarding. Assembling a raised garden bed is no exception – it requires planning, the right materials, and some elbow grease. Let’s start gathering the supplies for this new venture!
The first step in constructing a raised bed is to collect all necessary items. This includes wood, screws or nails, soil or compost, and plants or seeds depending on your preference. You’ll also need tools such as a hammer or drill, saw or screwdriver set, measuring tape and level. If you’re making your raised bed from scratch you’ll need to pick up wood boards for the sides of the frame. They should be thick enough to provide stability but light enough to move around if needed.
After gathering the necessary items and tools it’s time to decide where your raised garden bed will be situated in your yard. The spot should receive plenty of sunlight so that your plants can thrive – at least six hours of direct sunlight per day. Additionally, make sure it’s close enough to a water source so that you can easily water it when needed. With these things in mind you can now choose the perfect spot for your new gardening project!
Choose The Right Spot For Your Raised Garden Bed
Where should your raised garden bed be? This is an important question to answer before you get started. Once you’ve chosen the right spot for your project, you’ll be able to plan the rest of your build.
When selecting a location for your raised garden bed, there are several factors to consider. Firstly, make sure that the area offers plenty of sunlight – at least six hours each day – as this is necessary for most vegetables and flowers to thrive in. Secondly, choose a spot with good drainage and soil quality. If the area is boggy or has too much clay, you may need to amend it before planting anything. Finally, make sure that your raised bed isn’t placed too close to any trees or shrubs; their roots can spread out and compete with those of your plants for nutrients and water.
It’s also important to bear in mind how easily accessible the location will be. If you’re going to have trouble getting tools or supplies into the area due to its position on a hill or because it’s surrounded by other items, then it might be best to look elsewhere. Once you’ve found the perfect spot, it’s time to decide what size you want your raised bed to be!
Decide What Size You Want Your Raised Bed To Be
Building a raised garden bed is like constructing a mini-fortress for your plants. It’s designed to give them the perfect environment to grow with ample space, protection from weather and pests, and easy access for tending. The next step in creating this safe haven is deciding what size you want your raised bed to be.
The size of your raised bed will depend on several factors: the type of plants you’re growing, how much space you have available, and how much soil you need to cover the area. If you’re planting vegetables or herbs that require more space, such as corn or tomatoes, you may want to consider a larger raised bed – say 4×8 feet – while if you’re planting small flowers or shallow-rooted vegetables like lettuce or radishes, a smaller raised bed – around 2×4 feet – should suffice.
When it comes to selecting a size for your raised garden bed, it really just comes down to personal preference and what works best for your needs. With the right measurements in hand, the next step is marking out the area where your raised garden bed will go.
Mark Out The Area
Have you ever looked out your window and thought about how much better it would be with a beautiful raised garden bed? Now, you can make that vision come true! After deciding what size to build your bed, the next step is to mark out the area.
Begin by measuring and marking out the desired size of your raised bed. This will help you visualize where the bed should go and how big it should be. Make sure to double check that your measurements are accurate before moving forward. You may want to use some stakes and string or spray paint on the ground to really mark out the boundaries.
If you wish to create curved edges for a more creative look, take an extra step in this process. You can either use a flexible garden hose or rope to trace the desired shape and then transfer those measurements onto the ground with spray paint or by hammering wooden stakes into the ground.
Now that everything is marked clearly, you’re ready for the next stage: digging out the area!
Dig Out The Area
Digging out the area of a raised garden bed is like chipping away at the ground to create a sanctuary for plants. It’s hard work, but it’s worth it in the end when the soil is soft and full of nutrients and life. To get started, take a spade or shovel and mark out where you plan to dig. With each stroke, imagine how this space will soon be transformed into something beautiful – something that will bring joy and connection with nature into your life.
Once you’ve marked out the area, it’s time to start digging. Depending on what kind of soil is present in your yard, this could be an easy process or quite difficult. If it’s heavy clay soil, you may need to use a pickaxe to break up the chunks before you can start digging with a spade or shovel. Make sure you remove any roots or rocks from your digging site as these can interfere with drainage and plant growth later on.
Now that you’ve done all the hard work, it’s time to move forward with filling up your new garden bed! Fillers such as compost or manure will add organic matter back into the soil while giving plants essential nutrients they need to grow healthily and strong. Start by adding a few inches of filler material along the bottom of your raised bed before adding some topsoil overtop – this helps ensure that water can easily drain away from plants’ roots while also keeping them well-nourished!
Add Filler Material To The Bottom Of The Bed
Like the cornerstone of a wall, the foundation of a raised garden bed is essential in providing stability and longevity. When you add filler material to the bottom of the bed, it creates a sturdy base that allows for proper drainage and aeration.
Before adding your soil, you’ll want to fill the bottom of your bed with materials that will improve drainage and air circulation. Rocks, gravel, or broken up pieces of concrete are all great options for creating this layer. Make sure that you spread out these materials evenly throughout the bed.
Once you have filled your raised garden bed with filler material, it’s time to get started on placing and leveling the boards. A level surface is key in making sure your plants receive enough sunlight and water to thrive.
Place And Level The Boards
Now that your raised garden bed is ready, it’s time to place and level the boards. Start by setting one of the boards in the corner. Using a spirit level, check that it is completely horizontal. If necessary, adjust by adding material underneath until it’s perfectly even. Move on to the next board and repeat this process until all four pieces are in place.
Once all of your boards are in position and level, you need to secure them so that they stay put. You can do this using screws or nails, depending on which type of material you are using for your raised bed. Make sure you don’t screw or nail too tightly as this could damage the wood over time. To ensure a strong hold, use galvanized screws or nails that are long enough to reach through the sides of the boards into the filler material below.
With your boards firmly secured, you’re now ready to move onto the next step – securing them in place!
Secure The Boards In Place
Securing the boards in place is like the last puzzle piece of a jigsaw; it gives the raised garden bed its strength and structure. To make sure that the frame stays together, you will need to use screws or nails to hold each board in place. Begin by pre-drilling hole marks into each end of the boards. Make sure to use the right size drill bit for your screws or nails, as this will ensure that they fit properly and that they do not split the wood. Next, attach two screws or nails into each corner joint. For extra support, you can also add additional screws along each board length, spaced about every 8 inches apart.
Once all of your screws and nails are in place, use a level to check if your frame is even on all sides. If needed, adjust the placement of any boards until everything is straight and level. To finish off your raised garden bed frame, use wood putty or caulk to fill any gaps between boards that may have been left open due to uneven cutting or drilling holes.
Now your raised garden bed frame is ready for filling with soil! This step requires careful consideration when deciding what type of soil you should choose for a successful harvest season.
Fill The Bed With Soil
According to the National Gardening Association, over 33 million households in America alone grow food at home or in community gardens. This number is steadily increasing as more people become interested in growing their own food. With this growing trend, building a raised garden bed is an excellent way to get started.
The ninth step in building a raised garden bed is filling it with soil. Begin by purchasing soil and compost specifically meant for gardening beds – these will be the best choice for your plants. When you’re ready to fill the bed, create layers of soil and compost so that they can mix together and form a nutrient-rich base for your future plants. Make sure to tamp down each layer firmly as you add them, so that nothing shifts when you water your plants later on.
When all of the layers are assembled and tamped down, it’s time to plant your vegetables or flowers! Before planting, make sure that all of the soil is evenly distributed throughout the bed so that all of your plants have enough room to grow. After planting, give your garden bed one final watering before tending to it daily or weekly as necessary.
Plant Your Vegetables Or Flowers
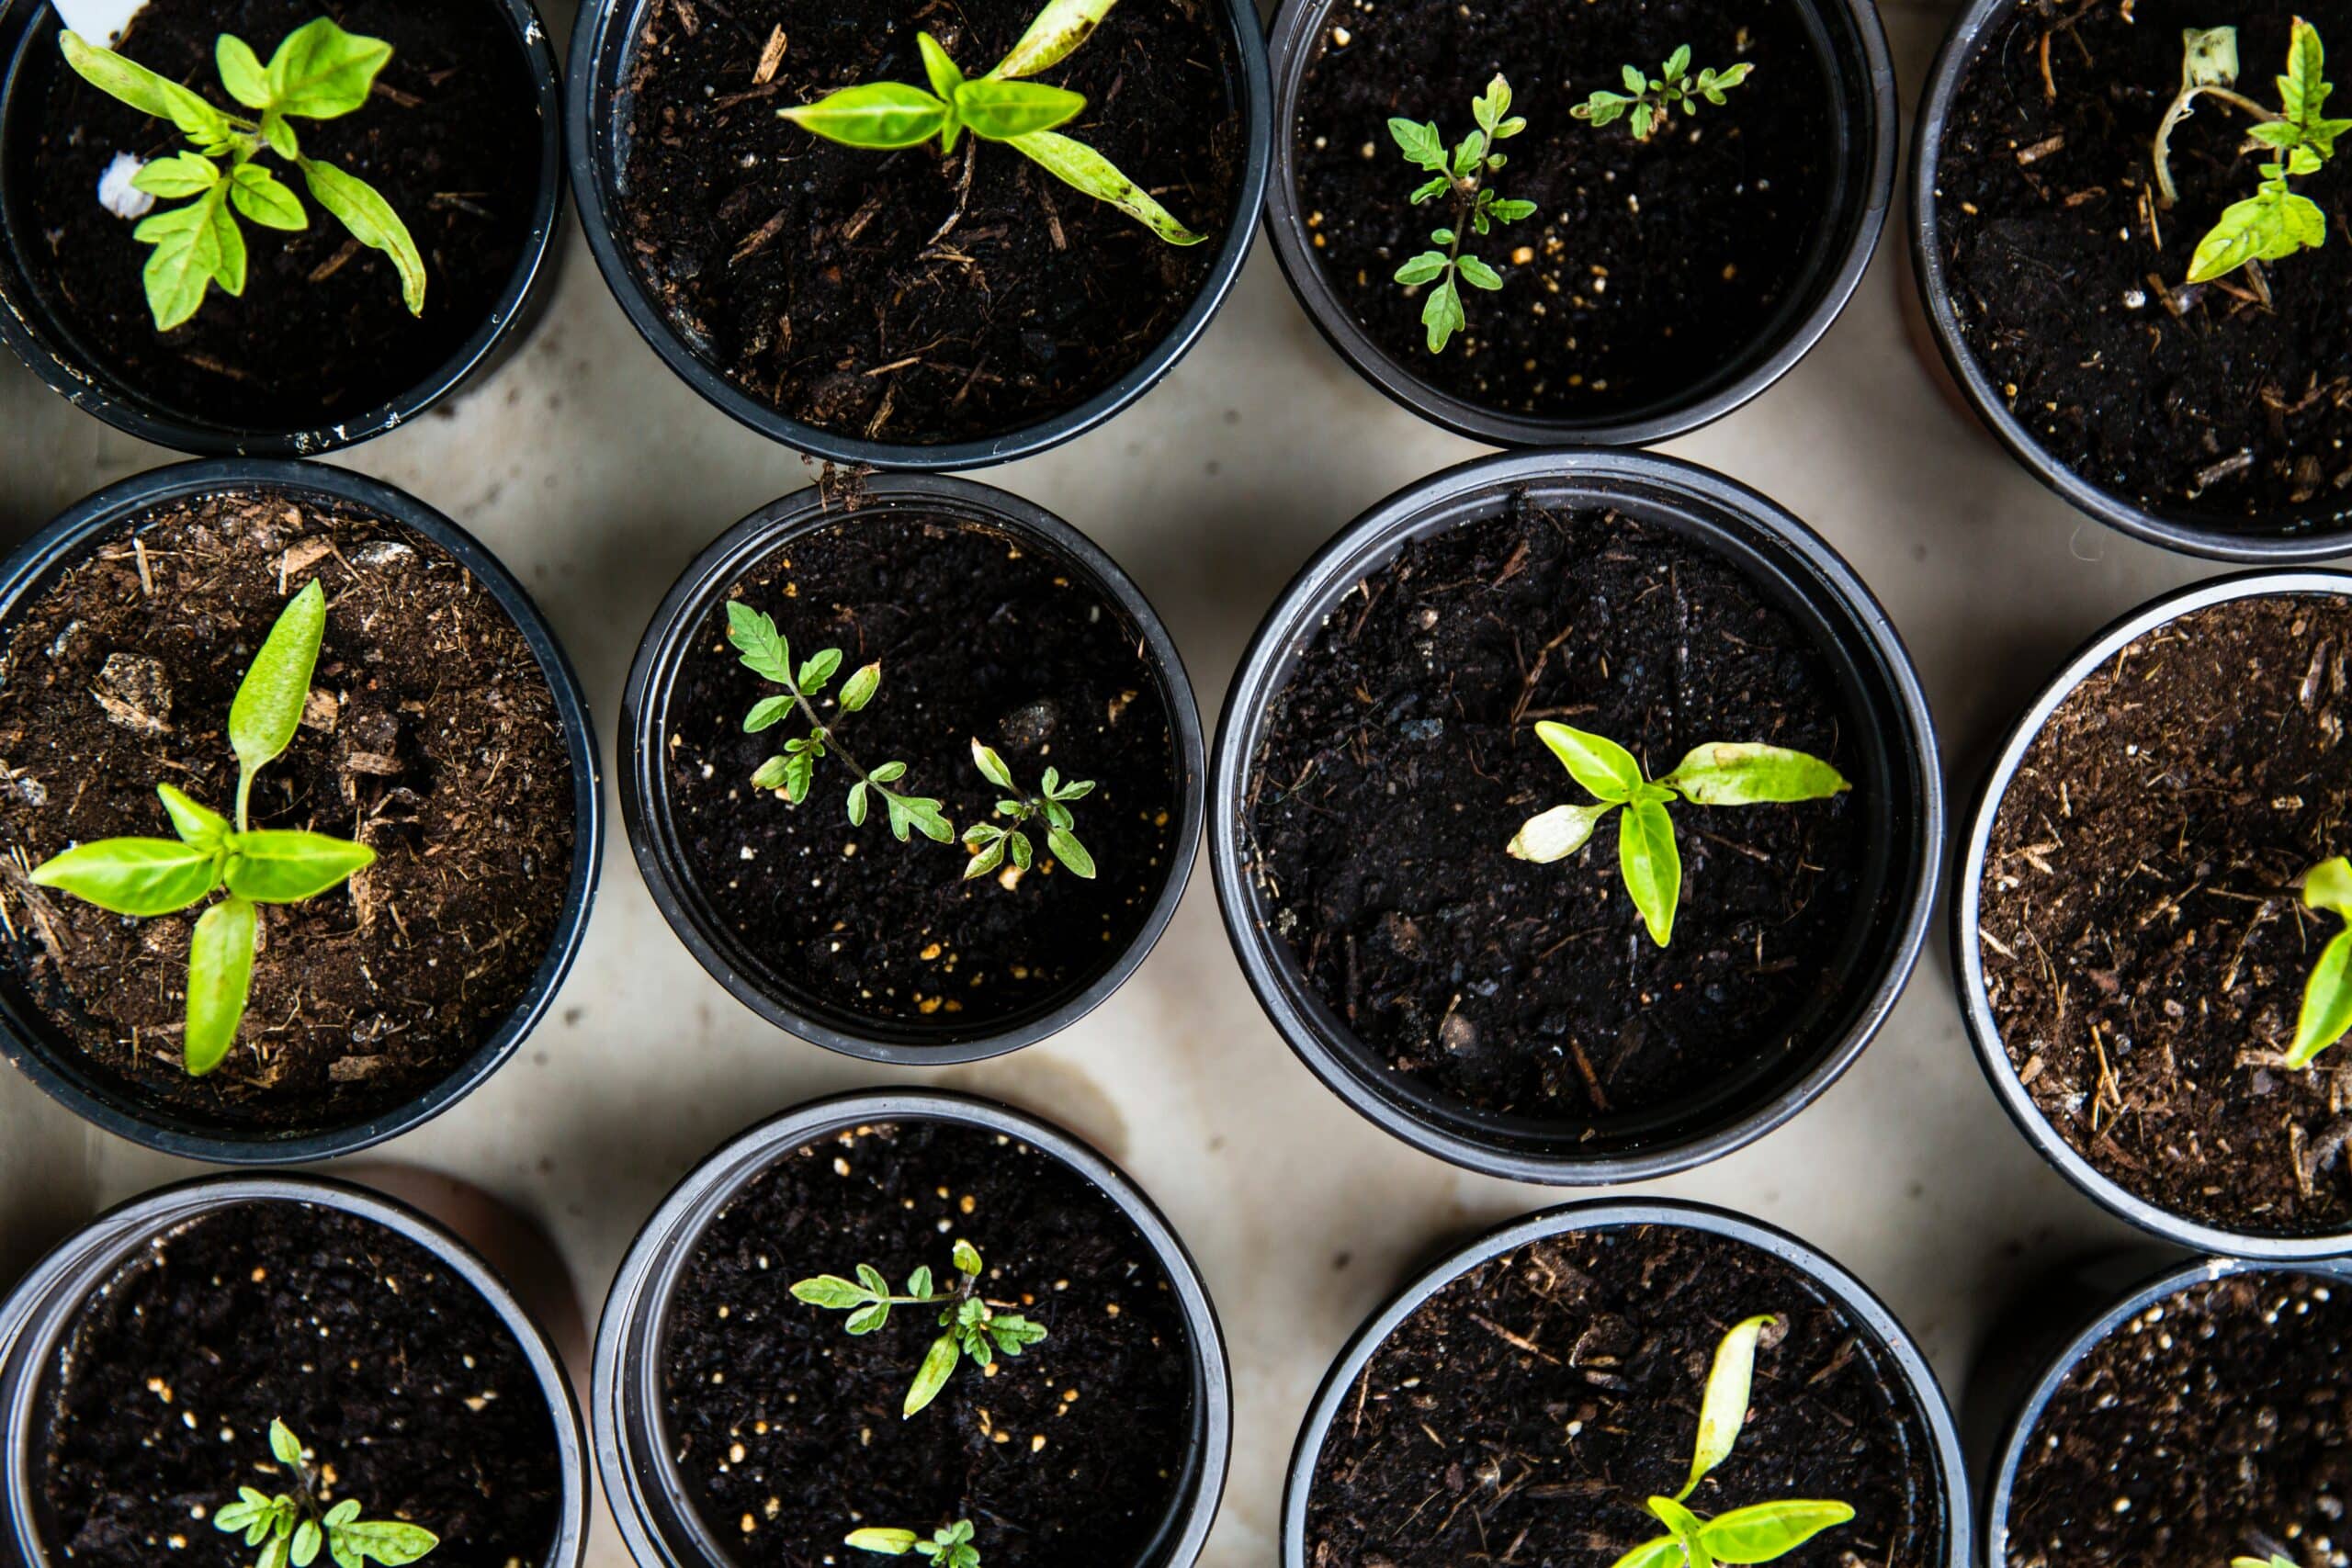
Astonishingly, all that remains is to plant your vegetables or flowers! It’s the moment of truth- the culmination of your hard work, from building a raised garden bed and filling it with soil.
The great thing about this project is that you can plant whatever you want in it. Whether you’re a fan of growing tomatoes, carrots, or tulips, you name it! You can even mix and match different plants to create an incredibly vibrant and colorful display.
Now, the only thing left to do is to add a layer of mulch on top of the soil. This will help preserve moisture levels in the soil and keep weeds at bay. So don’t skip out on this essential step; it’ll be worth it in the end!
Add A Layer Of Mulch
Coincidentally, the final step in building a raised garden bed is adding a layer of mulch. Mulching your plants helps to retain moisture and suppress weeds, making for a more abundant harvest.
There are various types of mulch you can use, such as bark chips or straw. Bark chips help to keep the soil cool and moist, while straw helps to prevent erosion. You should also consider the type of plants you’re growing when selecting your mulch. For example, if you’re growing root vegetables like carrots or potatoes, you’ll want to opt for a finer-textured mulch like wood chips or shredded leaves.
No matter what type of mulch you choose, make sure it’s spread evenly over the garden bed and kept away from the stems and roots of your plants. You’ll also want to make sure that it’s not too thick – two or three inches should be sufficient! Next up is watering your plants – but more on that later.
Water Your Plants
Watering your plants is absolutely essential for growing any kind of garden! Without it, the plants simply won’t survive or thrive. So it’s critical to get this step right!
Without exaggeration, there is no overstating how important this step is. After all, water helps the plants absorb nutrients from the soil and keeps them healthy and hydrated. Plus, it helps to prevent diseases like root rot and mildew.
So make sure that you water your plants thoroughly and regularly. That way, you can give your garden the best chance of success and enjoy the fruits of your labor!
Monitor Your Garden’s Progress
Monitoring your garden’s progress is like watching a movie. You put in the hard work for the setup, then you get to sit back and enjoy the show. Along the way, you may have to adjust some things as needed.
Just like a movie, your garden will need consistent attention over time. You’ll want to inspect it daily, looking out for signs of pests or diseases in plants, making sure each plant is getting enough water, and that weeds are not invading the bed. This monitoring allows you to take action quickly if any issue arises.
It’s also important to keep an eye on the growth of your plants so you know when it’s time to harvest any fruits and vegetables or when they need more space or nutrients. If you stay aware and maintain your raised bed properly, you’ll be able to enjoy a bounty of healthy produce at its peak freshness. With that said, it’s time to move onto amending the soil as necessary so that it can provide all of the nourishment your plants need!
Amend The Soil As Necessary
Once your raised garden bed is built, you’ll need to prepare the soil. This is an important step in cultivating a healthy and productive garden. It’s also something that should be done every year.
Amending the soil will help it retain moisture, promote drainage, and provide nutrients for your plants. You can use compost, aged manure, or other organic matter to add fertility to the soil. If necessary, you may also need to add additional nutrients such as lime or potassium sulfate.
To make sure your plants get off to a good start, it’s important to mix these materials into the soil thoroughly. This will ensure that there are no pockets of unamended soil where your plants could be deprived of essential nutrients and moisture.
Taking the time to properly amend the soil before planting will give your garden a head start on success – so don’t skip this step! With your raised garden bed prepared for planting, it’s time to move onto the next step and enjoy your garden!
Enjoy Your Garden!
The final steps of building a raised garden bed are the sweetest. With your hard work completed, you can now enjoy your garden! After all that effort and dedication, there’s nothing like sitting back and admiring your work.
The beauty of a raised bed is how it can be tailored to fit each individual’s needs. Maybe it’s an herb garden or a few vegetables for dinner tonight. No matter what you decide to grow, the satisfaction of watching something come alive from your labor is unparalleled.
As you sit back and take in your accomplishment, remember that gardening isn’t just about the end product – it’s also about the journey. Even when plants don’t look like they’re doing well, keep going and have patience – nature will thank you for it eventually!
Frequently Asked Questions
What Plants Work Best In A Raised Garden Bed?
The sight of a lush, green raised garden bed is enough to make anyone’s heart soar. The vibrant colors of the flowers and the delicious smells of freshly grown herbs are enough to invigorate anyone’s senses. But what plants work best in a raised garden bed?
When it comes to choosing the right plants for your raised garden bed, there’s no one-size-fits-all answer. You’ll need to consider the type of soil you have, your region’s climate, and your garden’s sun exposure before making any decisions. Some best bets for raised beds include vegetables like tomatoes, peppers, and carrots; herbs like basil, thyme, and oregano; and flowers like marigolds and zinnias.
Choosing plants for a raised bed is an opportunity for creativity and experimentation – why not try something new? Think about what you want to get out of your garden – do you want to grow food or create a beautiful landscape centerpiece? Whichever route you choose, a raised bed can be an ideal way to bring life into your outdoor space.
What Is The Best Type Of Soil To Use For Raised Beds?
Elevated beds are an excellent way to create a garden space with adequate drainage and direct access to the soil. What makes them so special is that they allow for better control over the environment in which plants thrive. There’s one key element, however, that is essential for creating the perfect raised bed: soil.
The type of soil used will directly affect how well your plants grow and how healthy they stay. Finding the right kind of dirt can be tricky, but it doesn’t have to be. Generally speaking, the best soil for a raised bed has good aeration, moisture retention, and fertility levels. It should be rich in organic matter and have plenty of beneficial microorganisms.
When it comes to selecting a quality soil mix for your raised bed garden, you want something that will provide optimal growth conditions while also being sustainable over time. A combination of topsoil, compost, and peat moss is often recommended as it provides an ideal balance of nutrients and water retention without becoming too dense or wet. The addition of mulch or manure can also help promote healthy root growth and create an environment where plants can thrive. With these elements in place, you’ll be able to enjoy your raised bed garden for years to come!
Are There Any Pests That Are Particularly Attracted To Raised Garden Beds?
A raised garden bed is a beautiful addition to any yard – it’s almost like a little oasis in the middle of all the hustle and bustle. But there’s one thing that could potentially ruin this paradise – pests! With raised garden beds, there are certain pests that can be particularly attracted to these gardens, making it important to understand what they are and how to prevent them.
Pests such as aphids and other insects will find their way into your garden bed, but it’s actually wildlife like rabbits, deer, and birds that can cause the most damage. These animals can easily jump or fly over fences or barriers you have set up around your garden bed, eating away at your plants before you know it. To avoid this issue, you’ll want to invest in some pest control methods such as netting or fencing around your garden bed.
It’s also important to be aware of certain types of soil that may attract more pests than others. Sandy soil may create an inviting environment for certain kinds of insects while clay-heavy soils may attract worms which could potentially eat away at your plants’ roots. Thankfully, there are several types of natural pesticides available on the market today that can help keep these pests away from your precious plants.
Overall, understanding what type of pests may be attracted to your new raised garden bed is essential for keeping it safe from harm. Researching the best ways to prevent them from taking over will ensure that this paradise remains untouched and thriving for years to come.
How Often Should I Water My Raised Garden Bed?
Watering your raised garden bed regularly is essential for keeping your plants healthy and happy. Depending on the type of soil, the amount of sun and the weather conditions, you’ll need to adjust the frequency of watering. Generally speaking, it’s best to check the moisture in your soil twice a week and water when it’s dry. If you’re growing vegetables or herbs, they may need more frequent watering.
When watering, be sure to check for pests or disease that can be caused by overwatering. If you notice any issues with your plants, reduce the amount of water you’re giving them and monitor their condition closely. You can also use mulch around your plants to help retain moisture in the soil and keep weeds at bay.
It’s important to get into a regular routine of checking and watering your raised garden bed so that your plants stay healthy throughout the season. Make sure to research how much water different types of plants need so that you can give them what they need without overdoing it!
How Do I Know When It Is Time To Amend The Soil?
Amending the soil for a raised garden bed can seem like a daunting task, but it doesn’t have to be! With just a few simple steps, you’ll be able to determine when it’s time to amend the soil and ensure that your plants get all of the nutrients they need. Let’s take a look at how you know when it’s time to amend the soil in your raised garden bed.
Having healthy soil is essential for any successful garden, and amending the soil in your raised garden bed is no exception. It’s important to check on your soil regularly and look for signs of nutrient deficiencies or an imbalance in pH levels. If you notice any of these issues, then it might be time to amend the soil in your raised garden bed. Additionally, if you’re noticing that your plants aren’t thriving as much as they should be, then this could also be a sign that it’s time to amend the soil.
Ultimately, amending the soil in your raised garden bed is an important part of keeping it healthy and productive. With regular checks and some keen observation, you’ll soon be able to detect when it’s time to amend the soil and take action accordingly. So don’t delay – start those amendments now and reap the benefits of healthier plants!
Conclusion
When it comes to planning and building a raised garden bed, it is important to consider the type of plants you will be growing, the type of soil to use and any potential pests that may be attracted. Once you have your bed built, regular watering and amending the soil are essential steps for keeping your garden healthy.
But before you can get started on caring for your new raised garden bed, there is one more crucial step: adding mulch. Mulch helps retain moisture in the soil and keeps weeds from taking over. It also adds nutrients to the soil and encourages beneficial organisms like earthworms.
Finally, after all of this careful planning and work, you can sit back and admire your new raised garden bed. With its attractive layers of soil and mulch, it will bring a sense of beauty to your outdoor space as well as provide fresh fruits and vegetables throughout the season.

