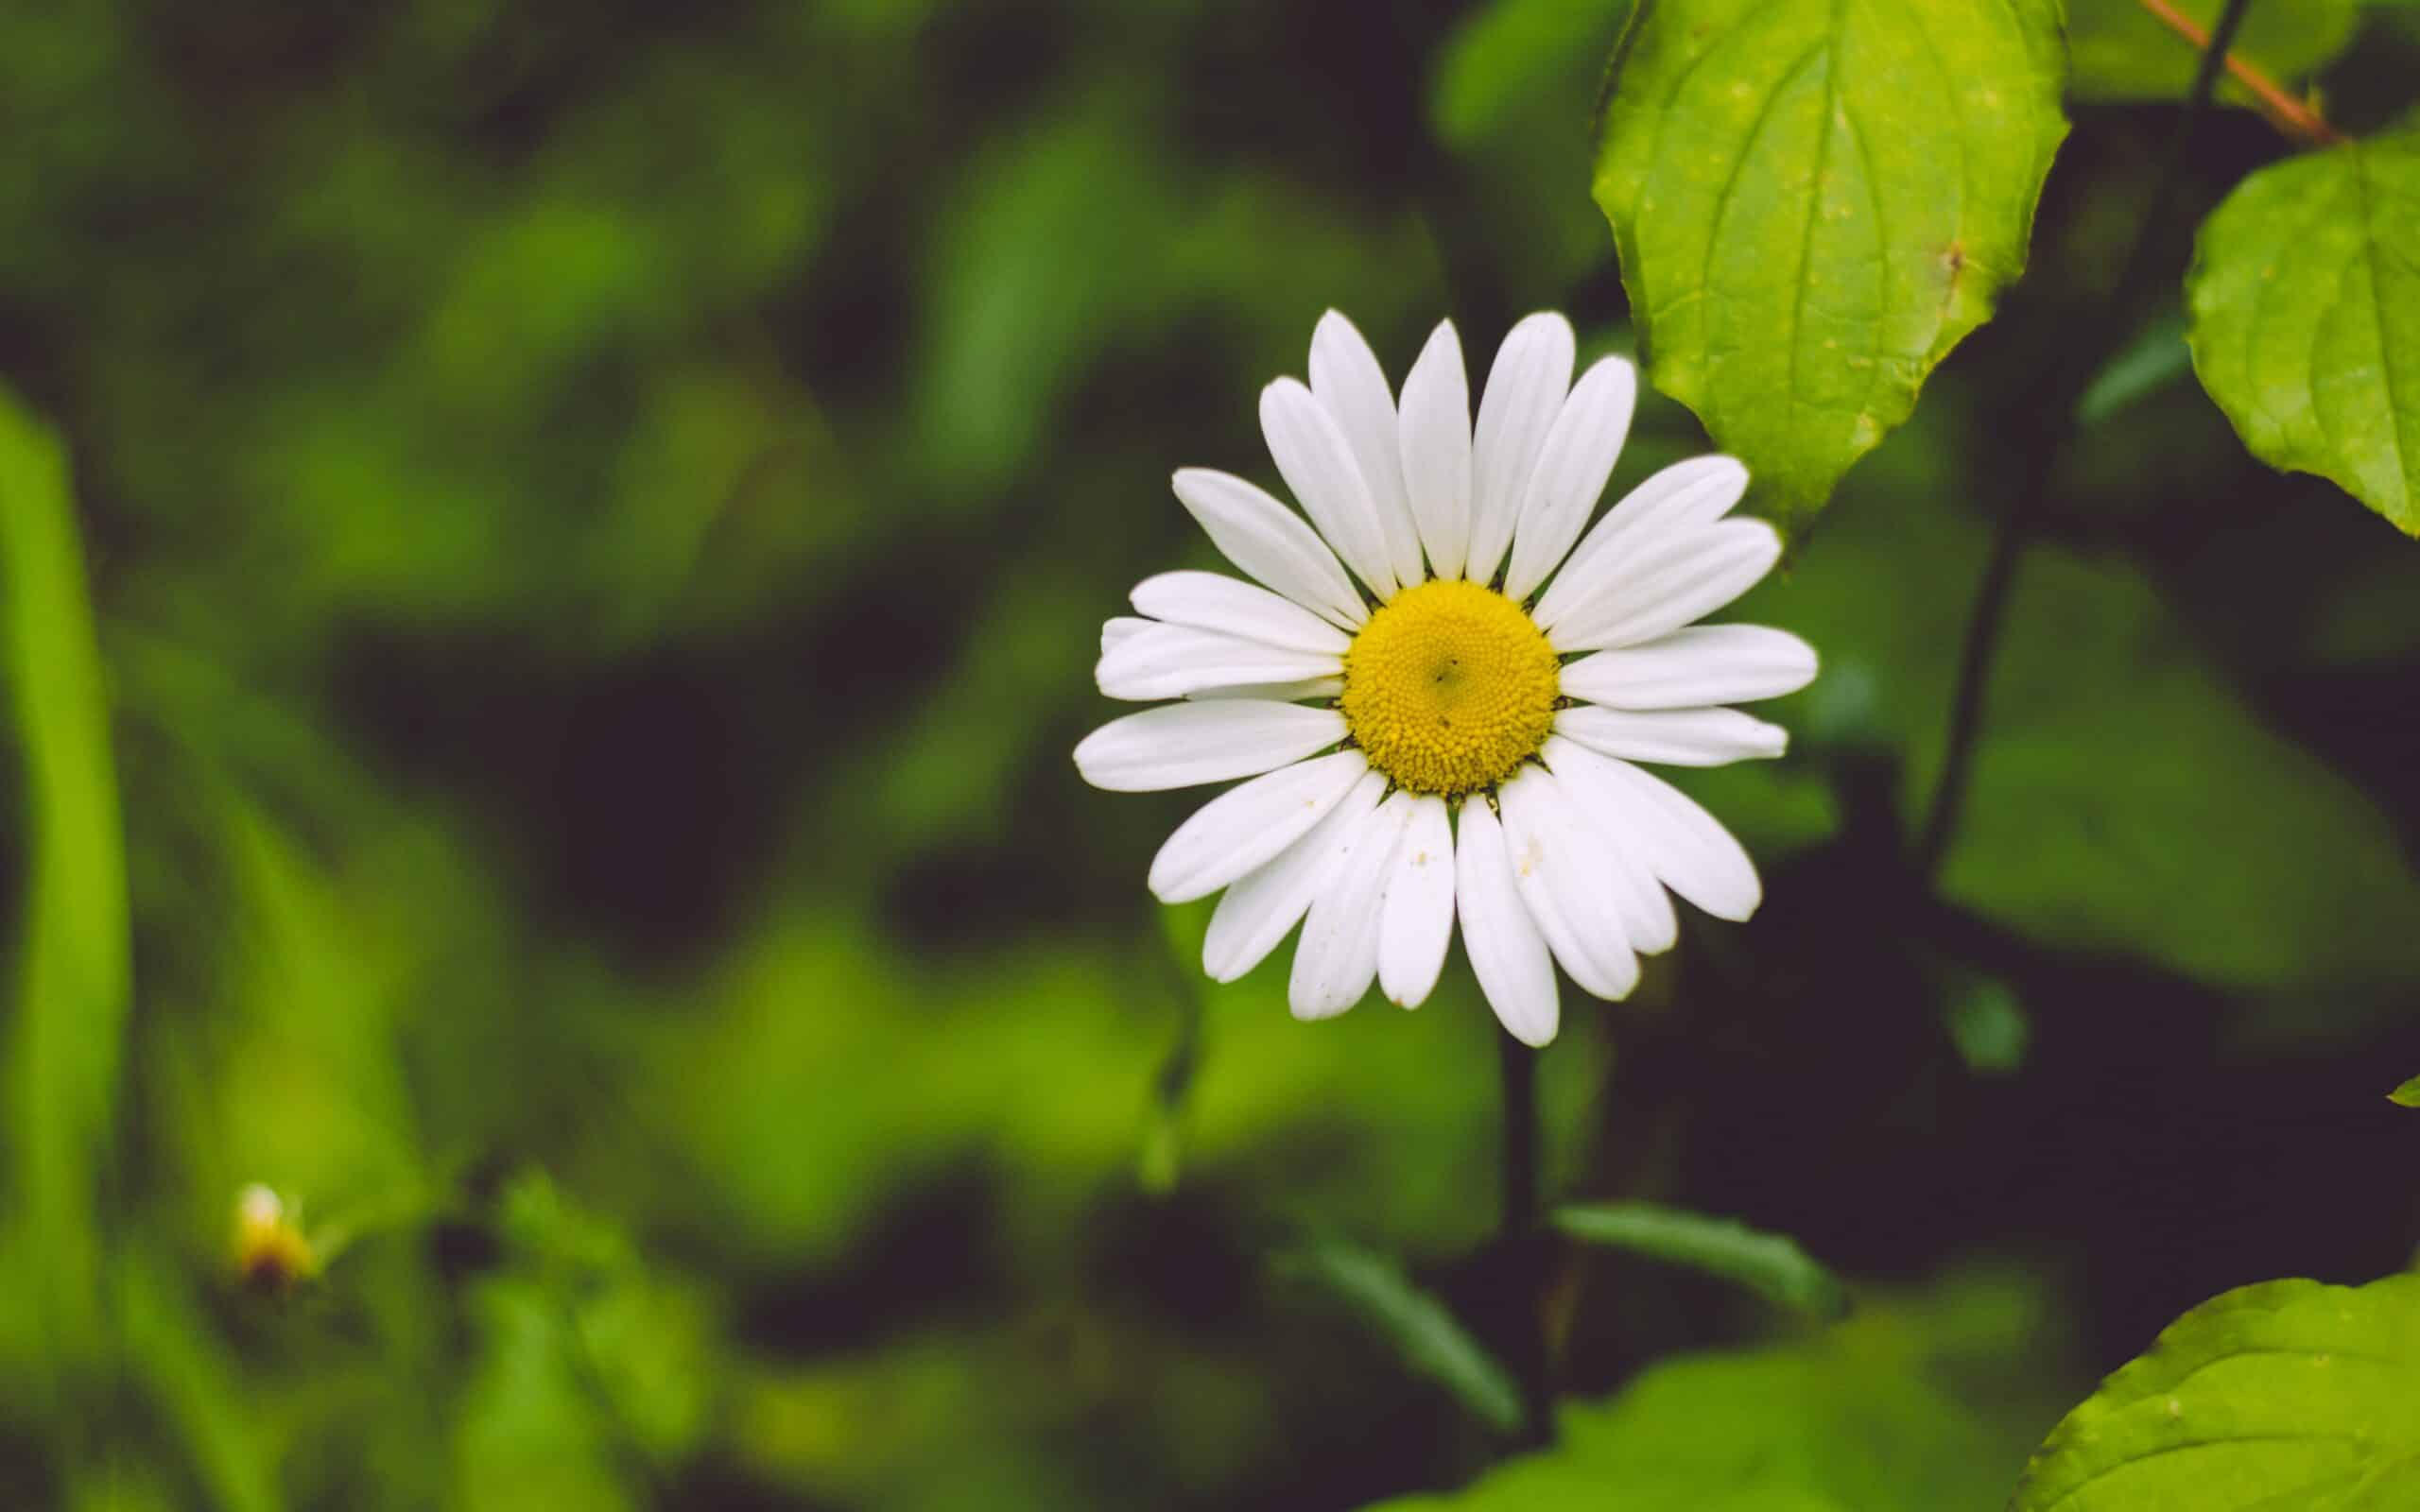
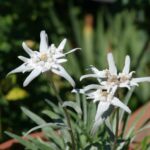
The Shasta Daisy (Leucanthemum x superbum) is a beloved perennial flower that can bring a burst of sunshine to any garden. With its white petals and yellow center, these flowers have the power to capture hearts and lift spirits. As the perfect combination of beauty and resilience, they are an ideal choice for any gardener looking to brighten their outdoor space.
As with any other plants, growing and caring for the Shasta Daisy requires knowledge and dedication. To ensure your daisies thrive in your garden, it’s important to understand their needs so they can reach their full potential. With this in mind, let us explore the methods necessary for cultivating these stunning blooms!
By taking advantage of their hardiness and understanding the proper techniques for planting and caring for them, you can enjoy a beautiful display of daisies throughout the summer months – an awe-inspiring sight indeed! With just a little effort you will be rewarded with a stunning array of cheerful blossoms that will bring joy to all who gaze upon them.
What Is A Shasta Daisy?
The Shasta Daisy is one of the most popular and easy-to-grow perennials, making it a great choice for novice gardeners. It’s known for its bright white flowers with yellow centers, which bloom in the summer months and remain attractive into fall. In addition to being beautiful, the Shasta Daisy is also low maintenance and can thrive in just about any type of soil.
When selecting a Shasta Daisy, it’s important to choose the right type for your climate and landscape. The most common types are ‘Alaska’, ‘Snowcap’, and ‘Becky. Alaska is a hardy variety that grows well in cooler climates, while Snowcap is especially popular because of its large blooms. Becky has a longer flowering season than either Alaska or Snowcap, making it ideal for warmer climates.
No matter what type you choose, caring for a Shasta Daisy requires some basic gardening know-how. Sunlight and regular watering are essential for healthy growth; the plant should receive at least four hours of direct sunlight per day and be watered regularly so that the soil stays moist but not soggy. Fertilizer should be applied every two to three weeks to give plants an extra boost of nutrients throughout their growing season. With proper care and attention, your Shasta Daisies will reward you with vibrant blooms all summer long!
Selecting The Right Type Of Shasta Daisy
The type of Shasta Daisy you select is like choosing the perfect outfit for a special occasion. With the vast selection of species and hybrids available, it’s important to understand their various attributes so that you make the best selection for your garden.
Let us look at the differences between these varieties. The original species, Leucanthemum × superbum, is a vigorous grower and will form a large clump over time. Its flowers are somewhat smaller than some of its hybrid relatives but they do offer several advantages. It is more tolerant of heat and humidity and can withstand cold temperatures better than some other varieties.
Another popular variety is Leucanthemum ‘Becky’ which has larger flowers with white petals surrounding a yellow center. This variety blooms freely throughout summer and into fall when given adequate moisture. There are also numerous hybrid types that feature double-flowered forms as well as those with different colored centers such as pink or orange, adding additional interest to your garden display.
No matter what type of Shasta Daisy you select, it will bring beauty to your garden with its eye-catching daisy-like flowers that last from late spring through autumn if given the proper environment in which to flourish and thrive.
Where To Plant Shasta Daisies
The Shasta Daisy is a popular flower, and it’s easy to see why – with its beautiful white petals and yellow center, it’s a sight that can fill any garden with joy. But where should you plant your Shasta Daisy to ensure the best possible results? With the right selection of soil and a few other considerations, you can create an ideal environment for your blossoming daisies.
When deciding on the best location for your flowers, you’ll need to take into account the amount of sunlight they receive. Shasta daisies need at least five hours of direct sunlight each day in order to thrive, so make sure your plants are placed in an area that gets plenty of sunshine. Additionally, these flowers prefer well-drained soil; if your soil is too heavy or saturated, consider creating a raised bed or container garden for them instead.
Finally, when planting your daisies make sure to give them plenty of space so that each one has enough room to grow properly. Each plant should be spaced at least 12 inches apart from its neighbors and provided with adequate air circulation since overcrowding can lead to disease issues. Once you have selected the perfect spot and prepared the soil correctly, enjoy watching as these cheerful flowers brighten up your outdoor space!
Preparing The Soil For Shasta Daisies
It is widely believed that soil preparation is a key factor in successful Shasta daisy growth. But is this really the case? After all, these hardy plants can adapt to many soil types. To answer this question, let’s look at the specifics of soil preparation when growing Shasta daisies.
When it comes to soil preparation for Shasta daisies, there are several considerations to take into account. The ideal soil should be well-draining and have plenty of organic matter incorporated into it. This will help to ensure the right level of moisture and drainage for the plants. It’s also important that the soil pH is neutral or slightly alkaline; if necessary, adjust with lime or sulfur. Additionally, you’ll want to make sure that there is adequate space between other plants and shrubs, as Shasta daisies need room to spread out and fill in.
Finally, it’s important to fertilize regularly throughout the growing season – preferably every four weeks – with a balanced fertilizer or one specifically formulated for flowering plants such as Shasta daisies. With proper planning and care during this stage of growth, you’ll be rewarded with lush foliage and abundant blooms from your Shasta daisies for years to come!
Planting Shasta Daisies
Now that you have your soil prepared, it is time to think about planting your Shasta daisies. Planting these flowers can be a fun and rewarding task, but it is important to do it right in order to ensure healthy blooms and maximum enjoyment. Juxtaposed with the care of the soil preparation, planting your Shasta daisies will bring you one step closer to enjoying these beautiful flowers.
When planting Shasta daisies, start by digging holes that are twice as deep as the root ball. Place each plant into its hole and gently backfill around it with soil. Make sure to firm the ground around each new plant; this will help keep out any weeds and keep the plants stable in their new home. Water each new plant thoroughly to help them settle in before mulching around them.
For larger areas of Shasta daisies, use a tiller or hoe to make rows in which you can easily plant multiple plants at once. This makes for efficient planting while still ensuring proper spacing between each flower. Make sure not to overcrowd the area as this can prevent air circulation and stunt growth; aim for 8-12 inches of distance between each plant when possible.
TIP: When you water your newly planted Shasta daisies, use a gentle stream instead of an intense spray so you do not wash away any of the soil surrounding the roots!
Watering And Fertilizing Shasta Daisies
Watering and fertilizing Shasta daisies is the next step in their care. These plants are tolerant of drought, but regular watering is necessary to keep the flowers blooming. The best way to water them is by soaking the soil around each plant until it’s wet. This will ensure that the entire root system gets moistened and that no spot is left dry. Fertilizing with a balanced fertilizer during the growing season will help promote healthy growth and abundant blooms. For established plants, use a slow-release fertilizer at half strength once per month throughout the growing season.
Deadheading spent blooms can also help extend flowering, as well as encourage new buds to develop. When cutting off spent flowers, be sure to cut back just below where the flower petals join together at the base of the stem. Deadheading will also reduce any unwanted self-seeding that may occur in some varieties of Shasta daisies.
Finally, proper mulching of your Shasta daisy bed can help conserve moisture and preserve soil temperatures for optimum growth and flowering throughout the season. Mulch should be applied in late spring or early summer after planting has been completed and should be 3-4 inches thick around each plant. This will not only conserve moisture but also reduce weed competition so that your Shasta daisies can thrive without interruption from other plants. With these simple tips, your Shasta daisies should remain healthy and bloom beautifully year after year!
Maintaining Shasta Daisies
Maintaining shasta daisies can be likened to tending a garden of vibrant beauty. With just the right amount of care and attention, these striking flowers can bring joy for months on end. As specialist in botany and gardening, I’m here to guide you through the process so that your daisies will remain as healthy and happy as can be.
First, it’s important to inspect your plants regularly for signs of disease or pests. Catching any issues early on is key to keeping your blooms looking their best. Check the undersides of leaves for aphids and spider mites, and remove them with a cotton swab dipped in rubbing alcohol if need be. If you find any discolored foliage or wilting stems, prune them away immediately – this will help keep the plant healthy.
Next up is fertilizing – it’s essential to give your daisies a nutrient boost every couple of weeks during their growing season (April-October). This will support their growth and ensure plenty of vibrant blooms throughout summertime. You can use any general purpose fertilizer designed for flowers; just follow the instructions carefully and apply according to the directions.
With these simple tips in mind, your shasta daisies will remain lusciously lovely throughout the season – ready to make your garden shine!
Deadheading Shasta Daisies
Deadheading Shasta daisies is an essential task to ensure the plants remain healthy and continue to produce more blooms. Here are three key points to consider when deadheading:
- Always use clean and sharp scissors or shears for best results.
- Remove spent flower heads at the base of the stem, ensuring you don’t leave any foliage behind.
- Deadheading should be done regularly throughout summer and autumn.
Regular deadheading of your Shasta daisies will ensure a continuous bloom throughout the growing season. It will also promote bushier plants and reduce seed production, as well as helping to prevent disease and deter pests. A horticulturist would recommend removing spent flowers right back down to the basal rosette of leaves, which helps to keep plants tidy and helps control their size. Additionally, this practice can help reduce risk of fungal infections, such as powdery mildew, as well as reducing self-seeding in garden beds.
By routinely deadheading your Shasta daisies during the growing season, you’ll help them produce a larger number of blooms with greater longevity. This practice should be done regularly until late autumn when natural frost kills off flower heads that remain on the plant. In turn, this will help your Shasta daisy plants look their best while providing an abundant show of colour in your garden or landscape all summer long.
Preventing And Controlling Pests And Diseases
It is widely believed that pests and diseases can be prevented and controlled with the help of effective garden maintenance. While this is true in some cases, it’s important to recognize that even the most diligent gardeners may still experience a pest or disease problem from time to time. To minimize the chances of pests and diseases affecting your Shasta daisy, there are several steps you can take.
First, pay special attention to your soil’s pH level. Shasta daisies prefer a slightly acidic soil pH between 5.5-7.0, so testing the soil and adjusting it accordingly will help ensure optimal growth conditions for your plants. Additionally, be sure to keep weeds under control by removing them as soon as possible, since they can harbor diseases that could spread to other plants in your garden. Finally, avoid overhead watering whenever possible since this can create ideal conditions for fungal diseases like powdery mildew and rust.
Regular monitoring of your Shasta daisies is also key in preventing and controlling pests and diseases. Look out for signs of infestation such as wilting leaves or holes in leaves, black spots on foliage or stem damage caused by slugs or snails, etc., so you can take appropriate action quickly if necessary. With proper prevention techniques and regular care, you should have healthy Shasta daisies all season long! Now let’s move on to winter care of Shasta daisies – an equally essential part of keeping these beloved perennials thriving!
Winter Care Of Shasta Daisies
Winter care of shasta daisies is an important step in ensuring a successful and healthy spring bloom. While the cold temperatures may cause some dormancy, there are a few steps gardeners can take to ensure their plants stay viable during the winter season.
Firstly, it’s important to remember that Shasta daisies are relatively resilient and can survive cold temperatures without much fuss. Although they won’t go dormant until the first frost, gardeners should keep an eye on their plants in case of heavy snowfall or extreme winds which could damage them. Additionally, gardeners should mulch around the base of their Shasta daisies to protect them from cold temperatures and moisture loss.
Secondly, gardeners should also consider moving their Shasta daisies indoors during periods of extreme temperatures or snowfall. This will ensure that any potential damage to the plant is minimized while also protecting it from pests or disease which could be present in outdoor conditions. Additionally, if possible, giving your plant filtered light or placing it near a south-facing window may help to keep its flowers healthy throughout the winter months.
Finally, as with any other plant care routine, regular watering is essential for maintaining your Shasta daisy’s health during winter months. To do this properly, water every one to two weeks depending on temperature and climate conditions. It’s best to avoid overwatering though because too much can lead to root rot or fungus buildup which can cause significant damage to your plant. With these simple steps you’ll be able to ensure that your Shasta daisy survives through the cold winter months and is ready for beautiful blooms come springtime! Preparing for propagation of your Shasta daisies is another great way to help them thrive year-round!
Propagating Shasta Daisies
One would think that propagating Shasta Daisies would be a piece of cake, given they are so hardy and easy to care for – but in reality, it’s not as simple as it seems! While even novice gardeners can have success with this task, there are a few important tips to keep in mind:
First off, timing is key. It’s important to wait until the plant is well established before attempting to propagate. This will ensure you get the best results from your efforts. Also, make sure you select healthy plants for propagation; weak or diseased plants will produce weak offspring. Finally, prepare the soil by adding organic matter or fertilizer prior to planting.
To propagate these daisies, gardeners have a few options. You can divide clumps of existing plants or use cuttings from mature stems. In either case, it’s important to remove any dead or damaged foliage prior to planting. If using seeds, sow them directly in the soil about 10-12 inches apart and cover lightly with soil. Keep them moist until germination takes place (usually within 2-3 weeks).
Once established, proper care and maintenance is essential for successful propagation. Water regularly and provide adequate sunlight for optimum growth – 6 hours per day is recommended! With these simple steps in place, you can easily increase your Garden Shasta population in no time at all!
Controlling Shasta Daisy Spreading
This brings us to the topic of controlling shasta daisy spreading. Interestingly, these flowers can spread rapidly and cover an entire garden in a single summer. Therefore, controlling their spread is essential for gardeners who want a neat and organized landscape.
When it comes to shasta daisy propagation, there are two methods: seed dispersal and division. With seed dispersal, one must ensure that the seeds do not scatter around the garden in order to prevent them from invading other areas. Division is also a great way to control their spread as it allows you to divide up existing clumps regularly and replant them in new locations.
In addition, regular pruning is key to keeping the flower’s growth under control. Pruning back flowering stems after blooming will help keep them from getting too tall or spreading out of bounds. This practice should be done on a regular basis throughout the summer months in order to ensure proper maintenance of your garden space and achieve that desired look.
By following these steps, gardeners can easily maintain their shasta daisies while ensuring they don’t overrun their landscapes and gardens. Now let’s explore how we can use these beautiful flowers for landscaping purposes!
Landscaping With Shasta Daisies
Shasta Daisy is an incredibly popular flowering plant, having been grown in gardens since the late 19th century. This low-maintenance perennial can reach up to 3 feet tall, producing lovely white petals with yellow centers. It’s no wonder why over 2 million Shasta Daisies are purchased each year for landscaping purposes! With the proper care and maintenance, landscaping with Shasta Daisies can be a rewarding experience for any gardener.
When planting Shasta Daisies, it’s important to consider their growth rate. They tend to spread rapidly when left unchecked, so it’s important to take steps to control this. Mulching around the plants will help keep weeds from taking over and crowding out your Shasta Daisies. Additionally, deadheading or cutting back spent flowers will also help prevent them from reseeding themselves too quickly in your garden beds or borders.
Finally, companion planting with other flowering plants is ideal for growing healthy and vibrant Shasta Daisies. Not only does this provide additional color and texture to your garden beds, but it also helps attract beneficial insects like pollinators that aid in helping these flowers grow and thrive. When choosing companion plants for your Shasta Daisies, keep in mind that they need plenty of sun and well-draining soil to do well. Try pairing them with other perennials like coreopsis or coneflower for best results!
Companion Planting With Shasta Daisies
Companion planting with Shasta daisies is an excellent way to create vibrant and healthy gardens. When done well, it can be a great addition to any landscape. Companion planting involves the careful selection of various plants of different species that have complementary traits. The right combination of companion plants can help reduce pest infestations, increase beneficial insect populations, and provide necessary nutrients for the Shasta daisy to thrive.
When selecting companion plants for the Shasta daisy, look for those that will benefit its growth while not competing too much with the daisy’s roots. Good companions include perennials such as yarrow, coreopsis, and coneflower; herbs such as oregano and chives; and vegetables such as lettuce and spinach. It is important to keep in mind that some combinations of companion plants may not work well together due to their different needs for light or water.
It is essential to remember that companion planting does not replace proper soil preparation and maintenance for your Shasta daisy. While companion plants can add beneficial properties to the soil, they cannot provide all of the nutrients required by the daisy alone. Regular watering, fertilizing, weeding, mulching, and pruning are still necessary for a healthy plant. With the right combination of care and companion planting techniques, you can create a thriving garden full of colorful blooms from your Shasta daisies! By taking these steps now you can ensure your garden is both beautiful and sustainable in the long run.
Troubleshooting Shasta Daisy Growing Problems
When growing Shasta daisies, it’s not uncommon to face a few obstacles along the way. These depend on the type of climate you have and the amount of care that your plants receive. By troubleshooting these issues early on, you can ensure that your shasta daisies thrive and provide you with beautiful blooms for years to come.
First, assess the soil conditions for your shasta daisies. They require well-draining soil with a pH between 6.0 and 7.5. If necessary, add organic matter to improve drainage and adjust the pH levels as needed. Additionally, make sure they’re receiving adequate light throughout the day in order to bloom properly. If they’re planted in an area with too much shade or are receiving too little water, this could be causing them to struggle.
Finally, watch out for common pests such as aphids or mites which can be controlled by using insecticidal soap or neem oil as needed. With proper care and vigilance, you should be able to keep any problems at bay and enjoy lush displays of shasta daisy blooms all season long!
Frequently Asked Questions
How Long Do Shasta Daisies Bloom?
The beauty of the Shasta Daisy is truly something to behold. Fluffy white petals, surrounded by a bright yellow centre, these daisies just scream summertime! But, how long do they bloom for?
Well, luckily for us gardeners, Shasta Daisies are perennial flowers that come back year after year. With proper care and attention they can bloom in nearly any climate from late spring to early fall. To ensure your daisy patch grows strong and blooms brightly each season, here are some tips:
• Plant in well-drained soil with plenty of sun exposure. • Water regularly and mulch around the base of the plants to keep soil moist and prevent weeds from taking hold. • Deadhead spent flowers to encourage new blooms and allow air circulation around the foliage. • Fertilize with a balanced fertilizer every few weeks during the growing season for optimal growth. • Divide overcrowded clumps every 3-4 years for healthier plants with more prolific blooms.
When done properly, your Shasta Daisies will be rewarded with an abundant floral display lasting from late spring until mid-autumn – a true testament to your gardening prowess! So go ahead, get out there and enjoy those bold and beautiful blooms!
How Often Should Shasta Daisies Be Fertilized?
Shasta daisies are a beautiful addition to any garden and can bring vibrant colors for months on end. To ensure their continued health and blooming, it is important to fertilize them regularly. As a specialist in botany and gardening, I recommend fertilizing shasta daisies once every four to six weeks during the growing season.
For optimal growth, use a balanced fertilizer that contains an equal amount of nitrogen, phosphorus, and potassium. This will help promote strong root growth, as well as encourage more vibrant blooms and foliage. Additionally, be sure to water the daisies deeply after applying the fertilizer to ensure it is absorbed properly into the soil.
Fertilizing too frequently can lead to leaf burn or excessive flowering; however, under-fertilizing your daisies may result in weak stems and sparse blooms. Therefore, it is important to find the right balance that works best for your particular garden conditions. With proper care and attention, you can enjoy magnificent shasta daisies all season long!
Is It Necessary To Deadhead Shasta Daisies?
The process of deadheading Shasta daisies is a key part of the care they need to thrive. Deadheading is when the spent blooms are removed from the plant, allowing it to focus more energy on producing new blooms throughout the growing season. While most gardeners enjoy seeing a multitude of flowers, deadheading can help keep them looking their best.
Deadheading is not absolutely necessary for Shasta daisies, as they will continue to bloom without it. However, if you want your plants to look their best, deadheading can be beneficial in several ways. It can help keep the plants neat and tidy, improving their appearance. Additionally, removing spent blooms encourages more flower production and helps prevent self-seeding – which can lead to unwelcome volunteers in your garden.
The process of deadheading Shasta daisies is quite simple and doesn’t require any special tools or techniques. All that’s needed is a pair of scissors or pruners and an eye for detail – simply snip off each old bloom near the base of the stem just above where new buds are forming. With regular deadheading throughout the growing season, you can ensure that your Shasta daisies stay looking beautiful all summer long!
What Type Of Soil Is Best For Growing Shasta Daisies?
Beautiful, bright shasta daisies are a joy to behold in the garden! Not only do they bring a vibrant burst of color to any outdoor space, but they are also easy to grow and care for. If you’re looking to add some of these lovely blooms to your garden, the most important thing to consider is the soil type.
When it comes to growing shasta daisies, well-draining soil is key. This will ensure that the roots don’t become waterlogged and rot. The best soils for shasta daisies are light loams or sandy loams with plenty of organic matter such as compost or peat moss added in. Soils that are too heavy or clay-like can create drainage problems for this species and should be avoided.
It’s also essential to make sure that your soil has the right pH balance for successful growth. Shasta daisies prefer slightly acidic soils between 5.5 and 7 on the pH scale. If you’re unsure what type of soil you have, it’s worth testing it before planting your flowers.
TIP: Make sure you amend your soil with plenty of compost before planting shasta daisies so that their roots can thrive in their new home!
Are Shasta Daisies Deer Resistant?
The question of whether Shasta daisies are deer resistant has intrigued gardeners for years. With so many studies examining the effects of deer on various plants, it can be difficult to determine which plants truly repel or attract deer. In this article, we’ll investigate the truth of the theory that Shasta daisies are deer resistant.
Shasta daisies belong to the Chrysanthemum family and have long been a favorite among gardeners who seek hardy perennials that produce abundant blooms over a long season. The flowers’ bright yellow centers surrounded by white petals make them especially attractive to hummingbirds and butterflies. Thankfully, their strong scent is also believed to repel deer from feeding on them in gardens.
Studies have shown that deer do not consume Shasta daisy flowers as readily as other types of flowering plants. However, some experts believe that when food sources become scarce, they may sample these flowers as well as other plant varieties. While there’s no guarantee that your Shasta daisies won’t be browsed upon by hungry deer if food sources are limited, it’s likely they will remain unharmed if ample food sources are available in your yard or nearby area.
To help protect your Shasta daisy plants from damage caused by grazing animals, establish a thick layer of mulch around each plant and closely monitor any signs of browsing activity in your garden throughout the growing season. By following these simple steps, you can help ensure that your beautiful Shasta daisies will remain safe from harm and reward you with many seasons of vibrant blooms year after year.
Conclusion
Shasta Daisies are a beautiful and hardy addition to any garden. Their bright, cheerful flowers last for weeks, making them a great choice for any yard. With the right attention and care, you can ensure that your Shasta Daisies will thrive and provide you with long-lasting blooms. Fertilize regularly, water when needed, and deadhead if necessary in order to keep your plants healthy and looking their best. Be sure to select the appropriate soil type for your Shasta Daisy and you will be rewarded with a robust plant that is resistant to deer browsing.
In conclusion, Shasta Daisies are a wonderful way to add color and life to any garden. With proper care and attention, these daisies have the potential to become the “jewel in the crown” of your garden! By taking the time to understand the needs of your Shasta Daisy plants, you can ensure that they will bring years of beauty and joy into your home landscape.

