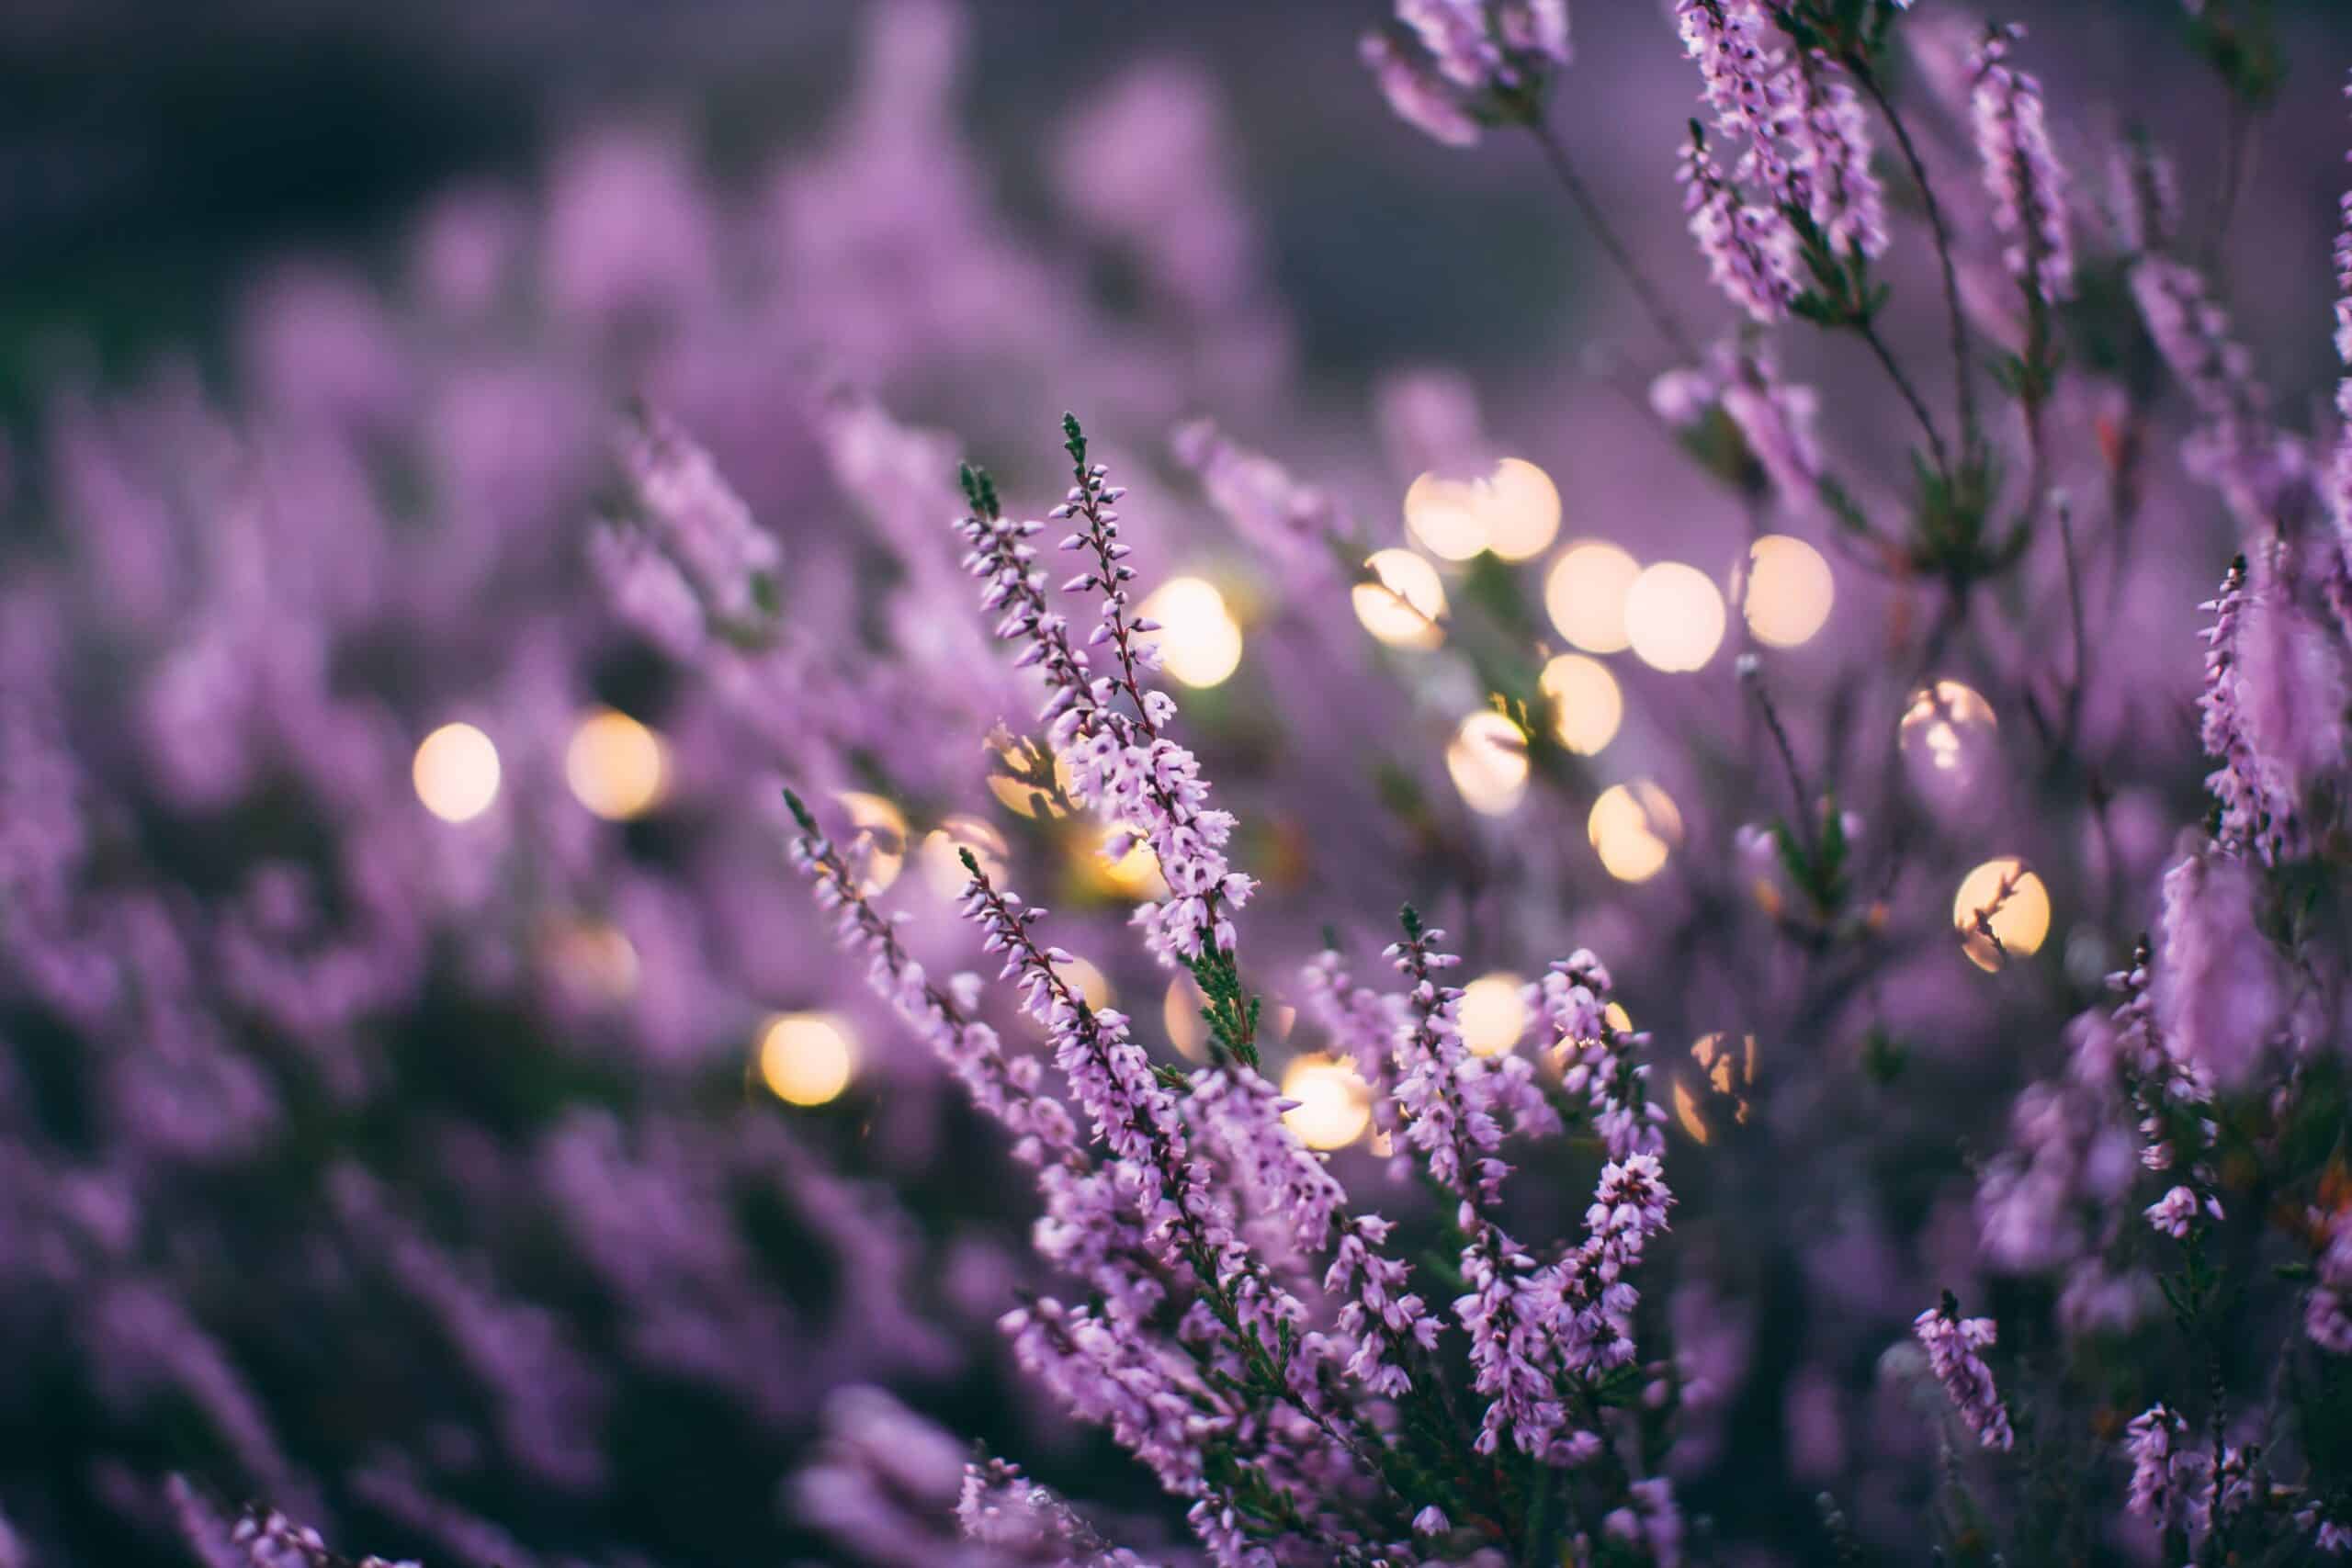
Are you looking for a way to make your home look luxurious and peaceful without breaking the bank? Look no further than lavender! This beautiful, fragrant flower is the perfect addition to any home or garden. Imagine the sweet scent of lavender wafting through your window as you relax and unwind in the comfort of your own home. Dreamy, isn’t it? Planting and caring for lavender can be a little tricky, but with these easy tips, you’ll be able to appreciate its beauty and aroma in no time.
Lavender has been used for centuries as an ingredient in cooking, perfumes, cosmetics, teas and even medicines. In recent years, it has become increasingly popular due to its calming properties which have been known to reduce anxiety and stress levels. With its soft purple hues and sweet aroma, it’s no wonder that this flower is growing in popularity among homeowners who want a touch of class in their gardens.
In this article we will discuss how to grow lavender from planting to care. We will cover topics such as selecting the right species of lavender for your climate, when is best time to plant them out, how much water they need and what kind of soil they prefer. We will also provide tips on how to keep your plants healthy so that they can thrive in your garden or indoor setting. So let’s get started on creating a beautiful oasis with some beautiful lavender!
Selecting The Right Variety Of Lavender
An ounce of prevention is worth a pound of cure,” so when it comes to growing lavender, selecting the right variety is essential for success. There are many species and hybrids of Lavandula (lavender) to choose from, each with their own characteristics. Some varieties are more tolerant of cold temperatures than others, some bloom longer, and some have different fragrances. It’s important to select a variety that is suited for your climate and desired use.
It’s also important to consider the size and shape of the mature plant before selecting a variety. Dwarf varieties have a low-growing mounding habit while taller varieties can reach up two feet in height. If you want to use the flowers in arrangements or drying, you should look for varieties that are known to produce large flowers or flower spikes.
When shopping for lavender plants, be sure to inspect them closely for signs of disease or pest infestation before purchasing them. Ask questions about their growing conditions, such as soil type, sunlight requirements and irrigation needs. With the right variety selected and healthy plants in hand, you will be ready to move onto preparing the soil for planting.
Preparing The Soil For Planting
The soil is like a canvas, ready to be painted with the vibrant colors of lavender. Careful preparation of the soil will ensure that the lavender will thrive and delight with its beauty.
To prepare the soil for planting, take note of the soil type and adjust it as needed. Sandy soils need to be amended with organic matter such as compost, while clay soils must be aerated with sand or gravel. Test the pH level of your soil if you are unsure; lavender prefers a slightly acidic soil pH between 6 and 7. Add lime if your soil is too acidic, or sulfur if it is too alkaline.
Once your soil has been amended to create an optimal environment for lavender growth, you will be ready to start planting. The next step is to choose whether you’d like to plant in pots or containers, or directly in the ground – each has its own advantages and disadvantages.
Planting Lavender In Pots Or Containers
Once upon a time, a garden enthusiast had the dream of growing lavender. Now, they have come one step closer to achieving it. Planting lavender in pots or containers is the third step in growing this fragrant flower.
When selecting a pot for lavender, make sure it has drainage holes and is large enough for the roots to stretch out without becoming cramped. Opt for terracotta pots as they absorb moisture and help keep the soil dry. Fill the pot with a light, sandy soil that drains well and add an organic fertilizer to give the plant some extra nourishment.
When planting lavender, space multiple plants at least 12 inches apart so they have enough room to grow and flourish. Place them in full sun and water regularly throughout the summer months until established. Lavender can do well when watered every second day during hot weather. Prune back old stems after flowering for bushier growth and more flowers in later seasons.
With these tips, you’ll be well on your way to having a thriving pot of lavender – now all that’s left is transplanting it into your garden beds!
Transplanting Lavender To Garden Beds
Anachronistically speaking, gardening can be a journey of trial and error – and that’s exactly what lavender transplanting is. For any green thumb embarking on this venture, it can seem like a daunting task at first. But with the right preparation and planning, it doesn’t have to be.
Transplanting lavender from its original container or pot into the garden bed requires proper timing and care to ensure successful growth. To begin, select an area in the garden that has plenty of sun throughout the day – at least six hours minimum – as well as good drainage. Once the site is ready, dig a hole slightly bigger than the root ball of your lavender plant, gently take it out of its pot and place it in the hole. Then fill in around the plant with soil before watering thoroughly.
As with any other type of garden planting, there are certain maintenance procedures you need to follow for optimal growth; such as providing enough light and water for your lavender plants throughout their growing season (spring to fall). Additionally, pruning away any dead stems or leaves will help stimulate new growth and encourage healthy blooms. With a little patience and TLC, you’ll be able to enjoy bountiful harvests of beautiful lavender flowers for years to come! Now let’s look at how to get started with direct seeding lavender…
Direct Seeding Lavender
If you’re looking for a quick way to add some fragrant beauty to your garden, planting lavender directly is the way to go. With its stunning blooms and calming scent, it’s no wonder why many gardeners are choosing to direct seed their lavenders. Here’s what you need to know about growing lavender from seed.
Organically speaking, direct seeding lavender is incredibly simple. All you need is a packet of seeds and some patience! First, choose an area with well-draining soil and full sun exposure. Then lightly scratch the soil surface before sprinkling the seeds evenly over the top. Pat them down gently so that they make contact with the soil, water them in, then wait for your plants to sprout!
If all goes according to plan, you should be able to enjoy your new lavender patch in no time. To ensure success however, it’s important that you take proper care of your plants as they grow – including spacing them correctly when transplanting them into larger beds. With a little bit of effort and TLC, you’ll be able to enjoy your beautiful lavender garden for years to come!
Spacing For Planting Lavender
Planting and preparing for proper spacing are key when it comes to growing lavender. When considering placement, it’s important to plan for the correct distance between each plant. This sixth step of planting and caring for lavender will give you a deeper understanding of the importance of spacing your plants.
Starting with soil, the ideal environment for lavender should be well-drained, light soil that is slightly alkaline in nature. If the soil needs a boost in alkalinity, adding lime can easily help adjust pH levels to a more suitable range. Once you’ve prepped the soil, it’s time to get planting!
Space is key when it comes to achieving success with lavender growth. Depending on the type of lavender variety chosen, there are different recommended distances between plants. For example, English Lavender requires around 18 inches apart while Spanish Lavender should be planted at least 24 inches apart from each other. With that said, even if planted close together, your lavender will still grow and thrive but may appear bushier than expected due to lack of air circulation. Understanding what type of space works best for particular varieties is key for optimal growth and bloom production over time.
Now that we know about spacing for planting lavender, let’s look at how to water it correctly…
Watering Lavender
When it comes to watering lavender, the general rule is to water deeply but infrequently. Lavender has a deep root system and needs enough moisture to keep its roots hydrated. To ensure optimum health, it is important to give your lavender plants a good soaking every two or three weeks. However, be careful not to overwater as this can lead to root rot or other diseases.
It’s also important to remember that different varieties of lavender have different water needs. Some varieties will need more frequent irrigation than others. If you’re not sure how much water your lavender plants need, check with your local nursery or garden center for advice on specific species and varieties.
In some climates, especially during hot summers, supplemental irrigation may be required in order for your lavender plants to thrive. When considering whether or not additional watering is necessary, look at the soil around the plants: if it feels dry several inches below the surface, then it’s time to water again.
Now that you know how often and how much to water lavender plants, it’s time to learn about mulching them for optimal growth and health.
Mulching Lavender
Mulching is an important step in the care of lavender. It helps to protect plants from extreme temperatures and conserve moisture in the soil. Applying a light layer of mulch around lavender plants can help keep weeds at bay and provide insulation to the soil. The ideal mulch for lavender should be organic, such as shredded bark or pine needles, so that it can slowly break down over time and release nutrients back into the soil.
When mulching lavender, it’s best to apply a thin layer around the base of each plant, keeping it away from the stems. This will allow air to circulate more freely and reduce moisture levels which can cause rot. Additionally, it’s important to maintain a distance between the mulch and the base of the plant so that insects or other critters don’t get too close and cause damage.
It’s also important not to pile mulch too high around your lavender plants, as this could lead to disease or pest problems due to excessive moisture levels. A depth of two inches should be sufficient for most types of lavender. With proper mulching techniques, you’ll find that your lavender plants thrive with minimal maintenance! Now that we’ve discussed mulching, let’s take a look at how fertilizing and pruning can help ensure healthy lavender growth.
Fertilizing And Pruning Lavender
Fertilizing and pruning lavender is like tending to a beloved garden. It’s a labor of love that requires attention, time and patience. When done properly, it can lead to a beautiful and abundant crop of fragrant blooms in the summertime.
Just like any other plant, lavender needs nutrients to thrive. A balanced fertilizer should be used in spring and early summer. Avoid over-fertilizing as it can cause root burn or an excess of foliage at the expense of flowers. Pruning helps keep lavender tidy and encourages new growth and blooms throughout the season. Cut stalks back to just above where two leaves meet on the stem or 1 inch above the woody stems that have flowered already.
After taking care to nourish your plants with fertilizer and regular pruning, you will want to ensure they are protected from pests and disease. Taking proactive measures such as planting disease-resistant cultivars in well-draining soil and avoiding overhead irrigation can help prevent damage from fungal diseases, such as powdery mildew or root rot.
Controlling Pests And Disease In Lavender
Controlling pests and disease in lavender is an important step to ensuring a healthy, productive plant. To begin, it’s important to identify the type of pest or pathogen that is affecting your lavender plants. Common pests include aphids, spider mites, whiteflies, and caterpillars. Fungal and bacterial diseases also affect lavender plants. Once you have identified the issue, you can create a plan of action for how to manage it.
Organic methods are generally preferred and there are many natural remedies available for managing pests and diseases in lavender. Some examples include introducing beneficial insects such as ladybugs or lacewings to combat aphids; using insecticidal soap or neem oil sprays against caterpillars; and using copper fungicides to control fungal issues. It’s also important to practice good sanitation techniques by removing dead leaves and debris from the garden bed to reduce the spread of disease.
When dealing with a pest or disease problem in lavender, prevention is key. Regularly inspecting plants for signs of stress or infestation can help catch any issues early on before they become unmanageable. Additionally, proper cultural practices such as providing adequate drainage and spacing plants apart can help ensure healthy growth and minimize the chance of infection or infestation. With these preventative measures in place along with targeted treatments when needed, you can keep your lavender plants healthy for years to come! Now that we’ve discussed controlling pests and disease in lavender, let’s move on to harvesting this fragrant herb.
Harvesting Lavender
Harvesting lavender is the culmination of months of hard work and patience. Like a farmer seeing the first fruits of their labor, you can reap the rewards of planting and caring for your lavender by gathering its fragrant blooms. A picturesque field of purple in full bloom is a sight to behold, reminiscent of an idyllic summer day.
Collecting the blossoms at precisely the right time ensures that you get the most out of your lavender plants. When it comes to harvesting, timing is everything – too soon and you’ll miss out on full potency; too late and much of the essential oil will have dissipated. To get prime-quality lavender buds, wait until about two thirds of them are open, then snip off entire stalks just above where they meet the main stem.
Do take care not to strip all stems from any one plant in one go: leaving some flowers on each bush will help encourage further growth for future harvests. Once you’ve gathered your bounty, it’s time to prepare them for drying so that they can be stored away for later use.
Drying Lavender
Ah, the sweet smell of success – or in this case, lavender! Harvesting this fragrant flower is just the first step towards enjoying its many benefits. But what comes next? After all, there’s much more to do with lavender than simply breathing in its calming aroma. The next step is to dry the lavender and prepare it for storing.
Drying lavender isn’t as difficult as it may seem. All you need is a sunny day with low humidity and warm temperatures – and you’ll have dried lavender in no time! To begin, cut off the stems of the flower. If you want to keep some of the leaves attached, that’s fine too; however, make sure they are completely dry before adding them back into your bundle. Once your stems are ready, tie them together loosely at one end and hang them upside down from a clothesline or string until they are completely dry (this could take several days).
When your lavender is properly dried out, it can be stored for future use. Lavender bouquets can be placed in an airtight container or bag and kept in a cool, dark place such as a closet or cupboard; while dried petals are best kept in glass jars away from direct sunlight or heat sources. Now that your lavender has been harvested and dried, it’s time to move onto storing it safely for later use.
Storing Lavender
Once harvested, it’s important to store lavender correctly. If stored incorrectly, the delicate flower will lose its color and fragrance. Therefore, proper storage is key to maintaining its beauty and scent.
The best way to store fresh lavender is by hanging it upside down in a cool, dark place with good air circulation. This will allow the flowers to dry slowly and preserve their color and scent for as long as possible – up to a year! For even longer longevity, you can also freeze or dehydrate the flowers. To freeze them, place them on a baking sheet lined with wax paper before transferring them into an airtight container. If dehydrating, spread the flowers out on a tray in an oven heated no higher than 140 degrees Fahrenheit until they become brittle – but make sure not to overheat them!
Storing lavender correctly ensures that it retains its fragrant beauty for longer. With proper care and attention, you can enjoy your lavender for many months or even years. To get started on decorating with lavender, simply follow these steps…
Decorating With Lavender
Decorating with lavender is a great way to bring the beauty and scent of the plant into your home or garden. Lavender can be used in many different ways, from bouquets to potpourri arrangements. The possibilities are truly endless!
When selecting a lavender for decoration, make sure it is healthy and free of pests or disease. Cut sprigs of the lavender when it is at its peak bloom and hang them upside down in an area that is cool and dark, such as a closet or basement. This will help preserve the color and scent of the lavender for longer.
You can also use dried pieces of lavender to adorn your home. Place these in baskets, bowls, vases, etc., and they will add a lovely burst of color and fragrance to any room. Try using them in combination with other dried flowers or herbs to create unique centerpieces or decorations for special occasions.
No matter how you choose to display your lavender, it’s sure to bring beauty, color, and scent into your home. With just a little effort on your part, you can enjoy this wonderful herb all year long!
Troubleshooting Lavender Planting And Care
Tending to a lavender plant is like caring for a pet; it requires patience and dedication. Much like an animal, lavender needs proper nourishment and care to reach its full potential. This article will provide helpful tips on troubleshooting any issues that arise while planting and caring for lavender.
When planting lavender, it’s essential to choose the right location. Lavender prefers warm and sunny weather, so avoid areas with excess shade or rain. Additionally, make sure the soil is well draining as too much moisture can cause root rot. If you’re having trouble with your planting process, consider talking to a specialist or local nursery for advice.
If your lavender appears unhealthy or is failing to bloom, check the soil acidity levels using a pH testing kit. Lavender prefers slightly acidic conditions so if the pH levels are off balance, apply some lime or sulfur to get them back on track. You should also keep an eye out for pests such as aphids and caterpillars which can damage the plant’s foliage and kill blooms. Treat any infestations quickly with insecticides or natural remedies like neem oil and soap sprays.
Caring for lavender doesn’t have to be complicated once you understand what your plant needs. With proper sun exposure, well-draining soil and pest control measures in place, your lavender will thrive in no time.
Frequently Asked Questions
How Long Does It Take For Lavender To Reach Maturity?
Growing lavender is an enjoyable and rewarding experience, but knowing how long it takes for the plant to reach maturity can be an important factor in deciding when to start. It’s essential to understand the timeline of lavender growth so you can plan your gardening accordingly.
The amount of time it takes for a lavender plant to reach maturity will vary depending on the variety being grown as well as the climate and soil conditions in which it is planted. Generally speaking, most varieties take between two and three years before they are ready for harvesting; however, some species may require more time or less time depending on their growing environment.
In order to get the best results from your lavender crop, make sure you provide them with plenty of sunlight and water throughout the entire growing season. Additionally, keep an eye out for pests or disease that may affect your plants, as these can delay their growth and cause them to take longer than usual to reach maturity. With proper care and attention, you should be able to enjoy a healthy harvest of fragrant blooms in no time!
When Is The Best Time Of Year To Plant Lavender?
When is the best time to plant lavender? This is an important question for anyone hoping to grow this beautiful, fragrant herb. Springtime is usually the ideal time for planting lavender as long as the soil has had a chance to warm up. If you’re planting in a container, you can start anytime, but it’s best if you wait until after the last frost of spring.
When planting lavender outdoors, make sure the soil drains well and that it’s not too moist. The pH level should be between 6.5 and 8; this allows enough nutrients to reach the roots. Before planting, mix in some compost or manure to help provide essential nutrients while also improving drainage.
Once planted, lavender requires minimal care: only water when necessary and prune back in late winter or early spring before new growth starts. With proper care, your lavender plants will thrive and flower on a regular basis. And don’t forget – regular deadheading will keep them looking their best!
Are There Any Special Soil Requirements For Growing Lavender?
When it comes to growing lavender, the soil you choose is just as important as the timing of planting. Lavender prefers well-drained soil that has a neutral pH level, meaning it should not be too acidic or alkaline. The soil should also be amended with a compost mixture to create a looser, more nutrient-rich environment for the plant.
In addition to soil quality, lavender plants also require adequate drainage in order to thrive. Planting lavender in raised beds can help ensure proper drainage and prevent water from pooling around the roots. Furthermore, mulching around the base of the plant will help keep moisture in and weeds out.
Overall, taking extra care when choosing and preparing your soil is key for successful lavender growth. By selecting an optimal soil type and providing ample drainage, you can give your lavender plants all they need to flourish!
Do I Need To Use Any Special Tools To Prune Lavender?
When it comes to pruning lavender, special tools may be required. Pruning is necessary in order to encourage vigorous new growth and maintain an attractive shape. Deadheading is also a great way to promote more blooms. So what kind of tools do you need?
Well, first and foremost, you’ll need some good quality garden shears or scissors. Sharp blades are essential for getting a clean cut that won’t damage the plant. If you’re dealing with larger branches, loppers may be necessary. You can also use hand pruners for smaller branches or stems.
It’s important to remember that when pruning lavender, less is more. You should never remove more than one-third of the foliage at any given time, as this could cause stress to the plant and slow down its growth rate. Taking your time while pruning will help ensure that your lavender plants stay healthy and looking their best!
How Often Should I Water My Lavender Plants?
Watering lavender plants is a delicate balance of providing just enough moisture without overwatering. It’s important to pay attention to the needs of the plant if you want it to thrive.
Figuratively speaking, watering your lavender plants is like giving them a hug – it’s essential for growth and development, but too much can lead to drowning! So how often should you give your lavender a hug?
It depends on the soil type and climate conditions. Generally, sandy soils require more frequent watering than loamy soils. In addition, hot or dry climates will necessitate more frequent watering than milder or wetter climates. In general, lavenders need at least an inch of water per week during the growing season (April-September). If there are periods of extended drought, they may need more – up to double that amount. Be sure to check the soil before watering – if it’s still moist, hold off until it dries out a bit. To ensure long-term success with your lavender plants, adjust your watering schedule according to soil type and weather conditions.
Conclusion
In conclusion, lavender is a wonderful plant to add to any home garden. Not only does it provide fragrant blooms that attract a variety of beneficial insects and pollinators, but it is also easy to care for and maintain. With just the right amount of sunlight, soil, and water, you can have a beautiful lavender garden in full bloom year-round. All it takes is patience and dedication!
The beauty of lavender lies in its versatility; you can use it to create an array of items such as herbal teas, oils, and even cosmetics. In addition to this, its sweet scent can be used as an aid in relaxation or meditation. It’s no wonder why so many people are drawn to this unique flower!
So go ahead and take the plunge! Planting lavender is relatively easy and with the right care you will be rewarded with a gorgeous display of purple blooms that will leave you speechless – not to mention the captivating aroma that will fill your home with peace and serenity. Lavender truly is an incredible gift from nature – one that we should all strive to appreciate more often.

